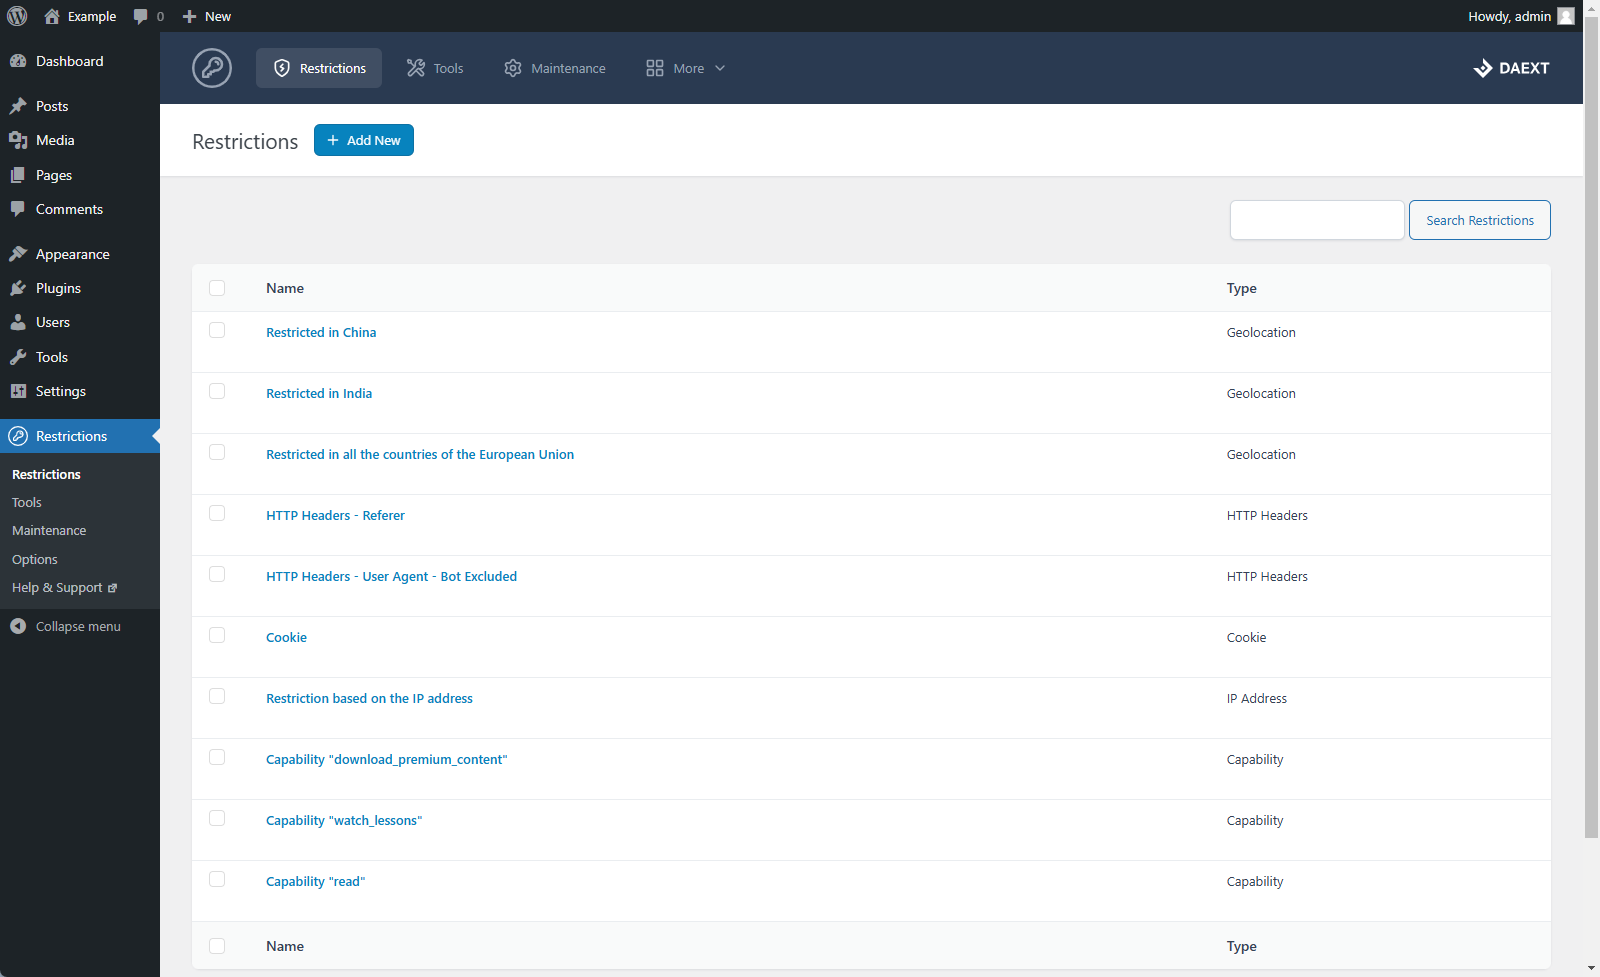
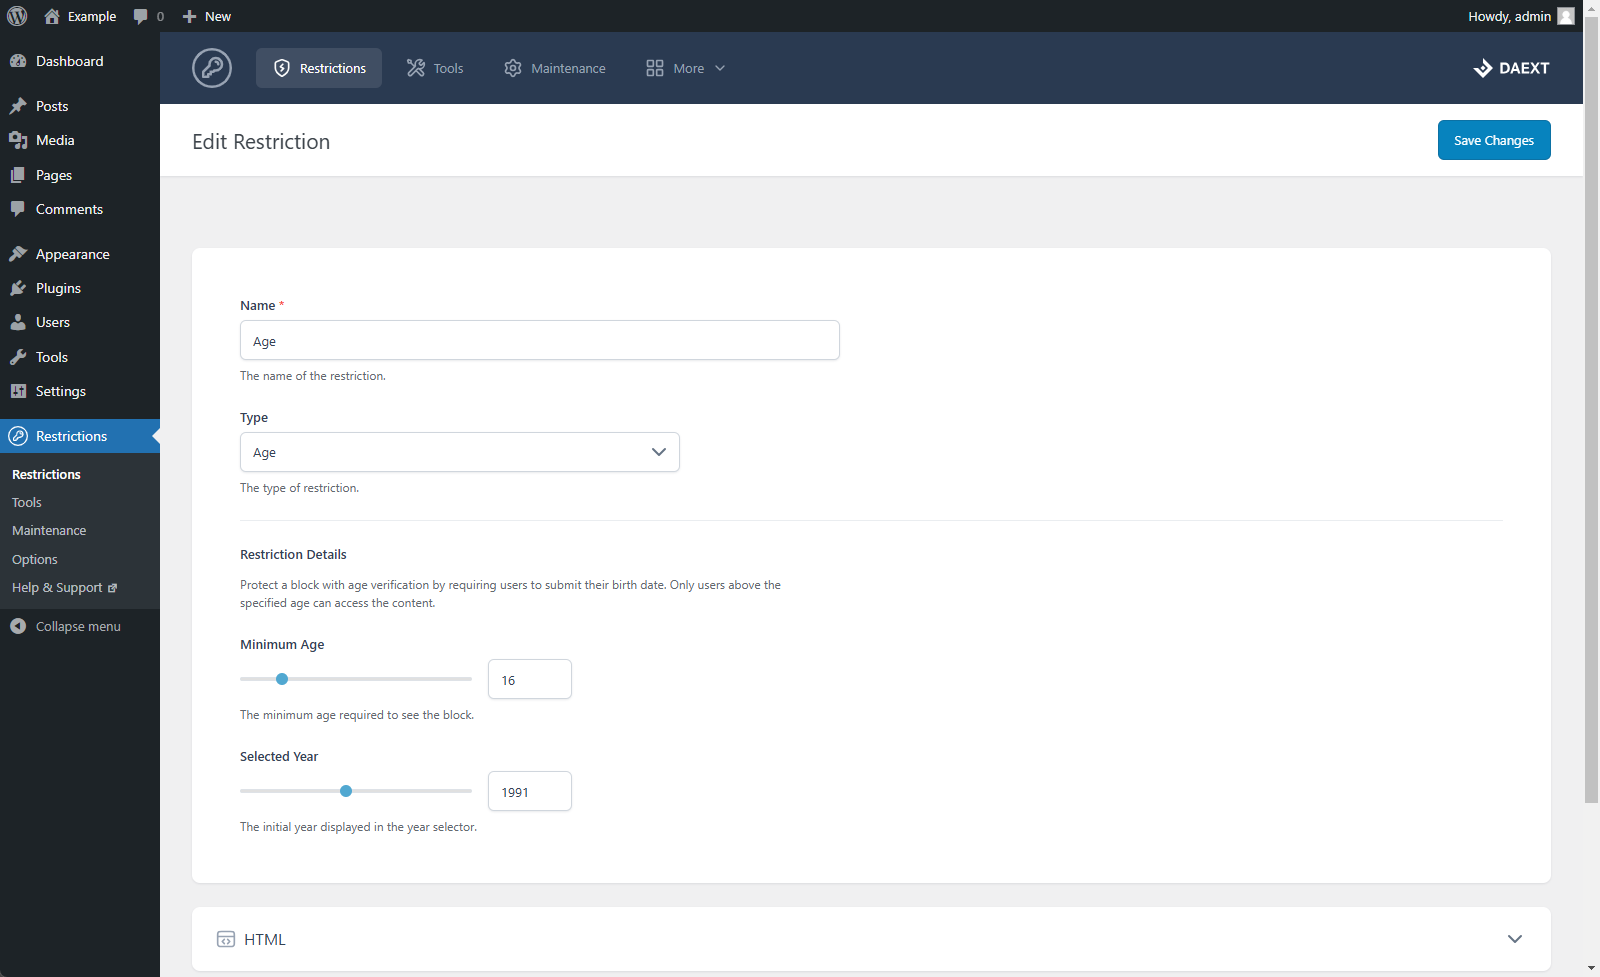
Dynamic Restrictions
Define Restrictions for Every Scenario
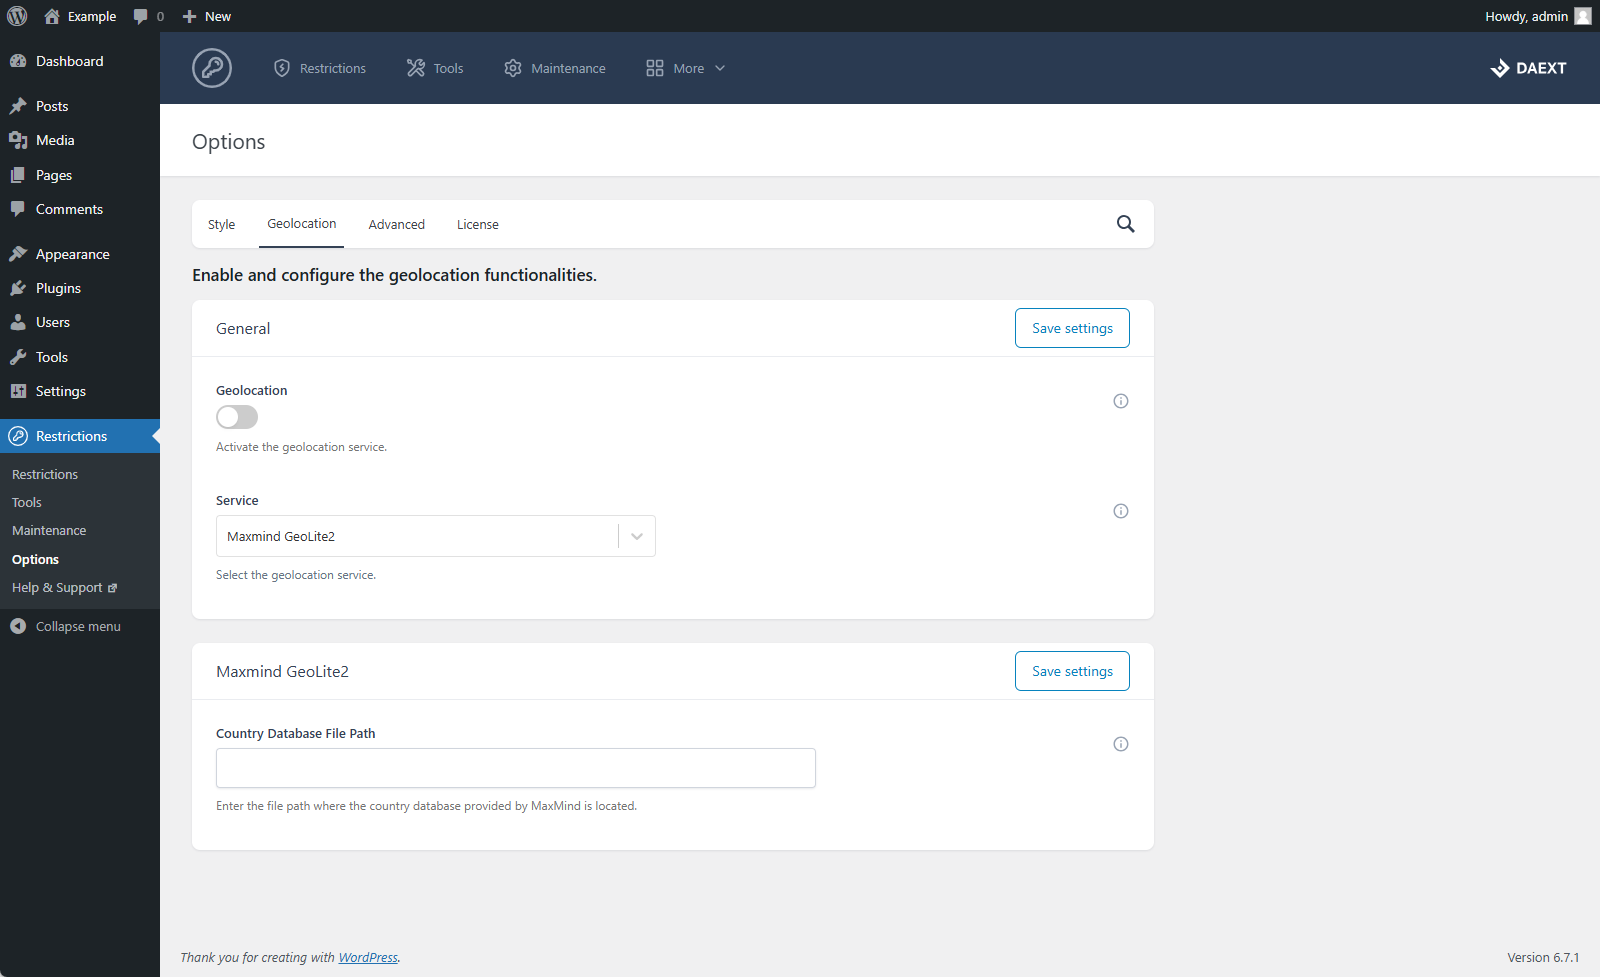
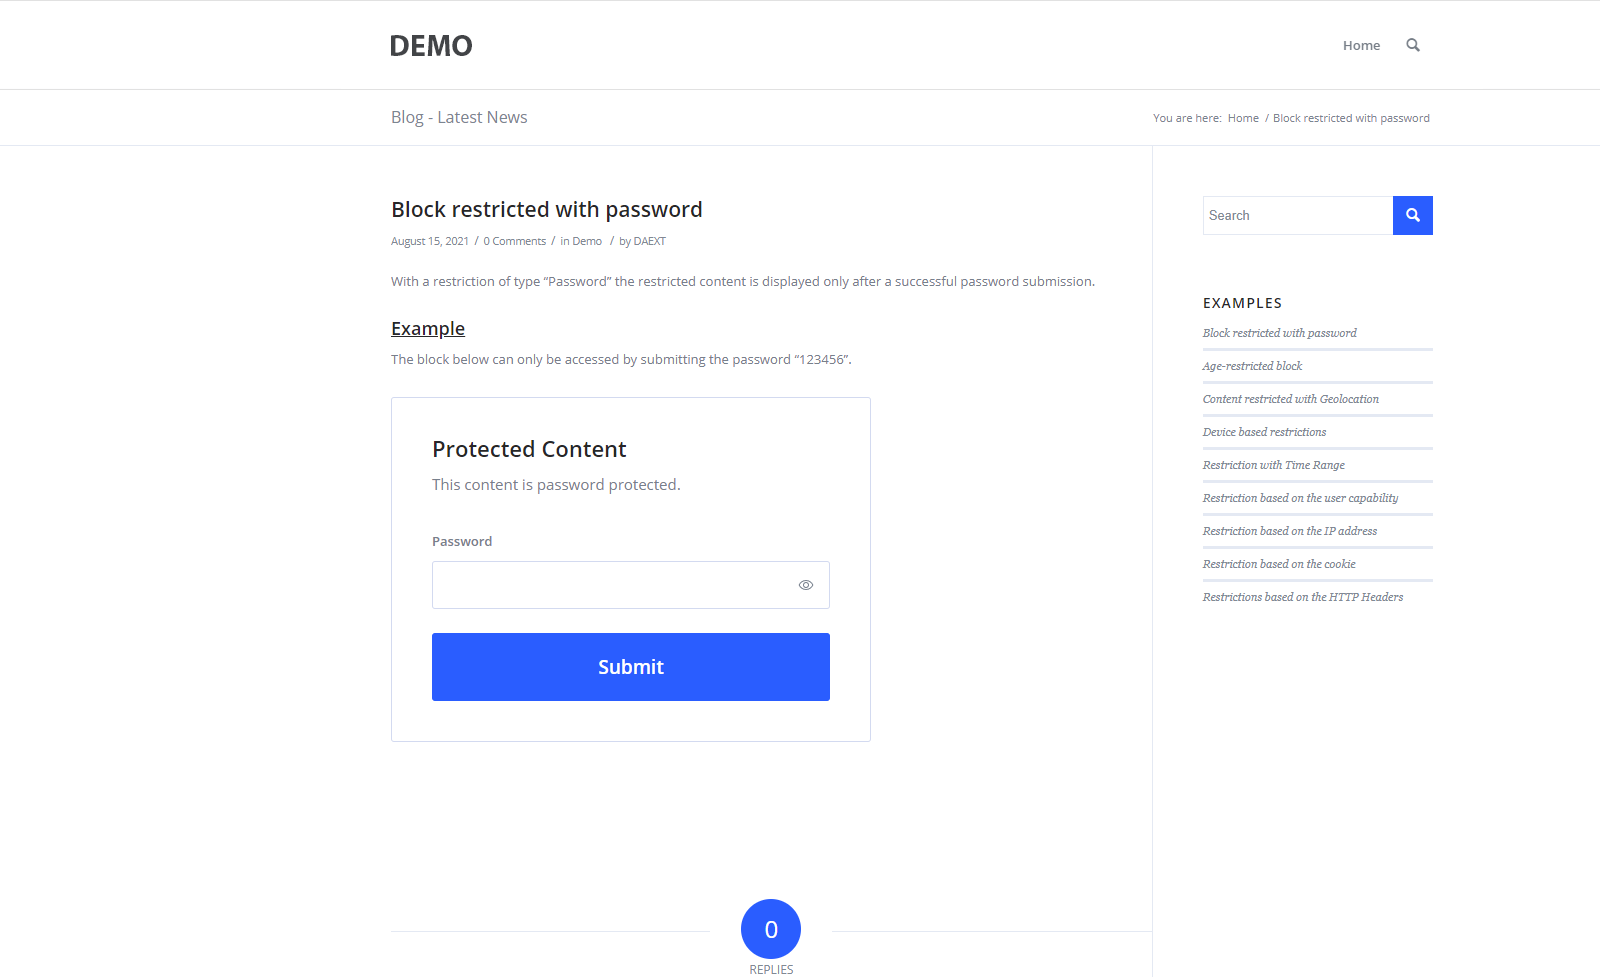
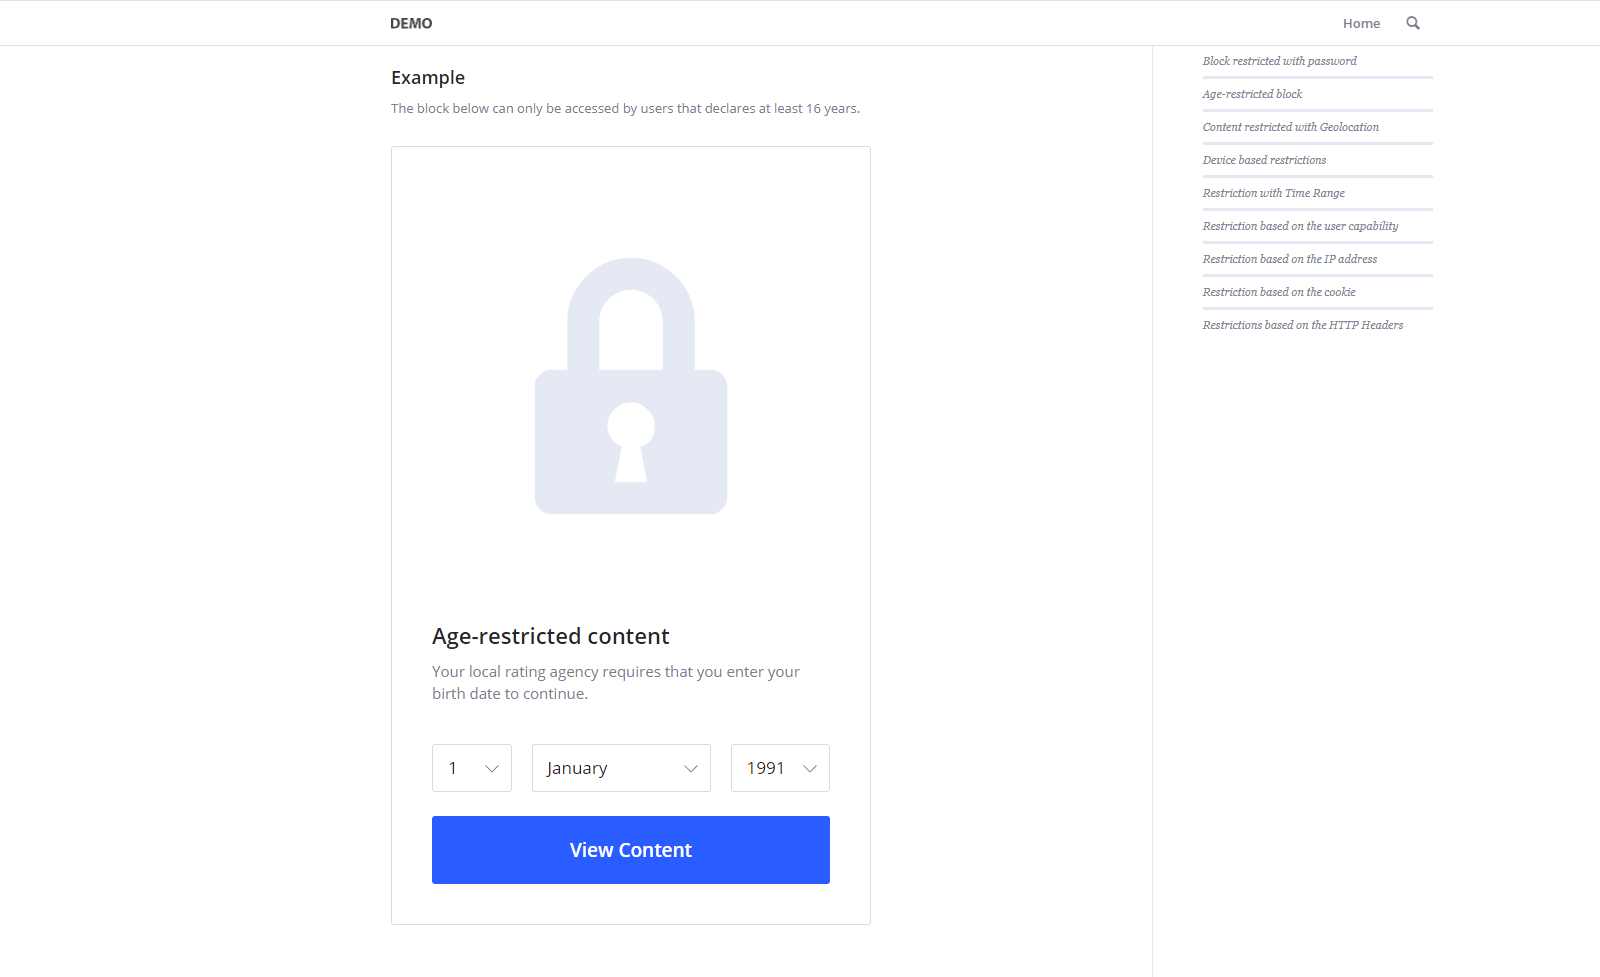
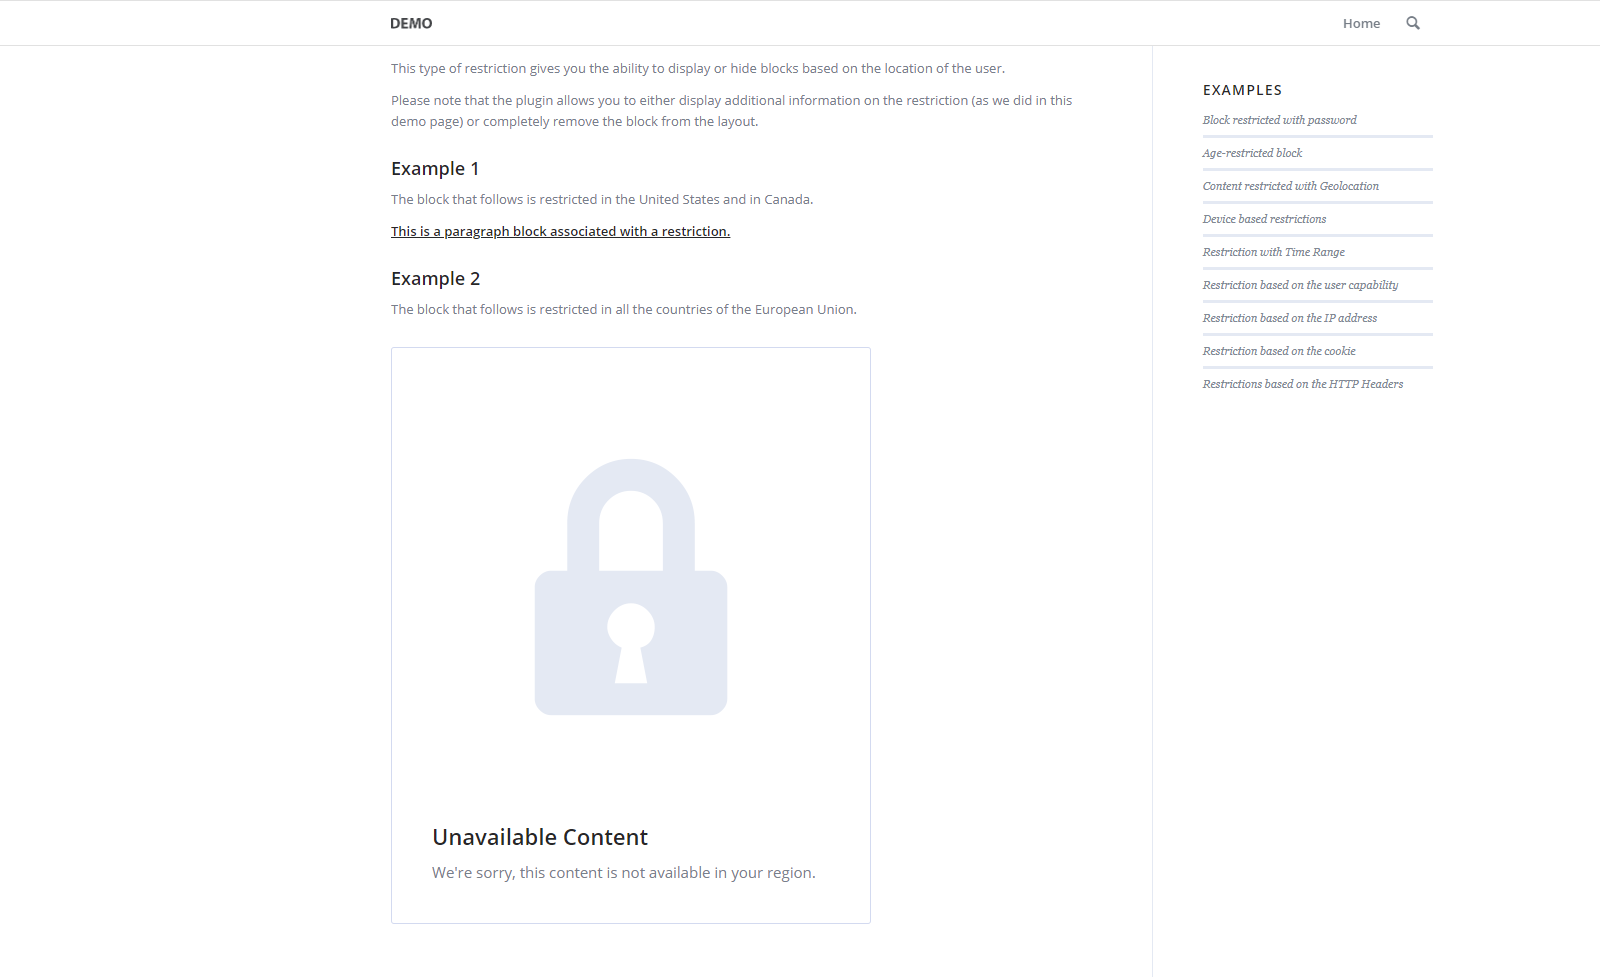
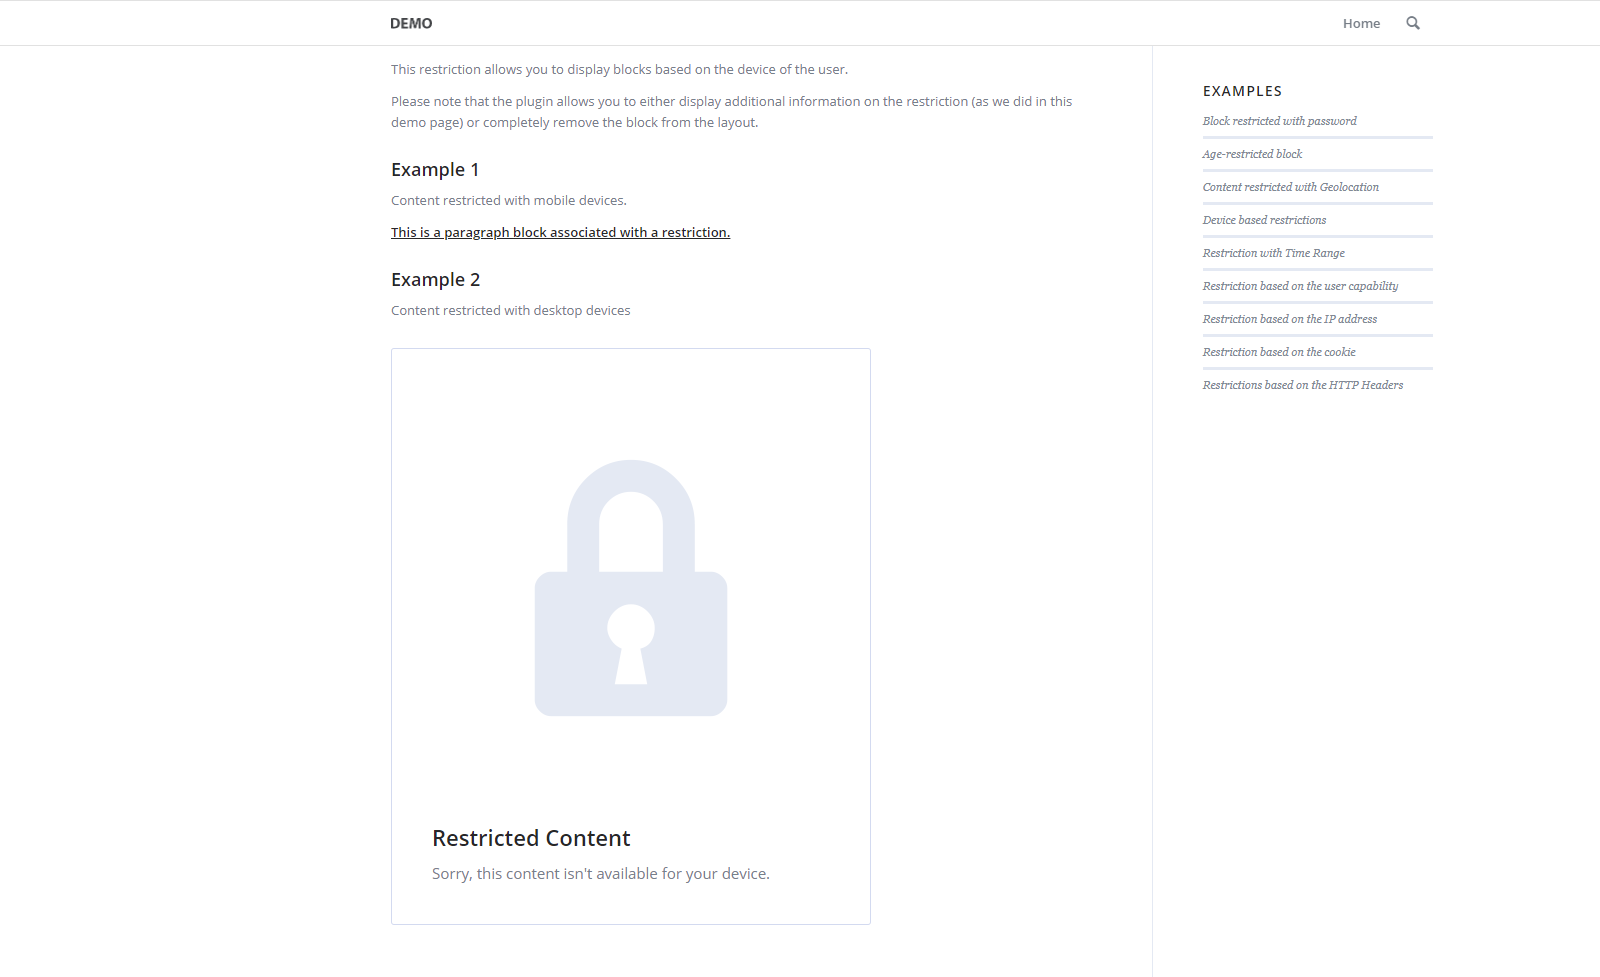
Create a great variety of restrictions including user roles restrictions, device, geographical location, and more.

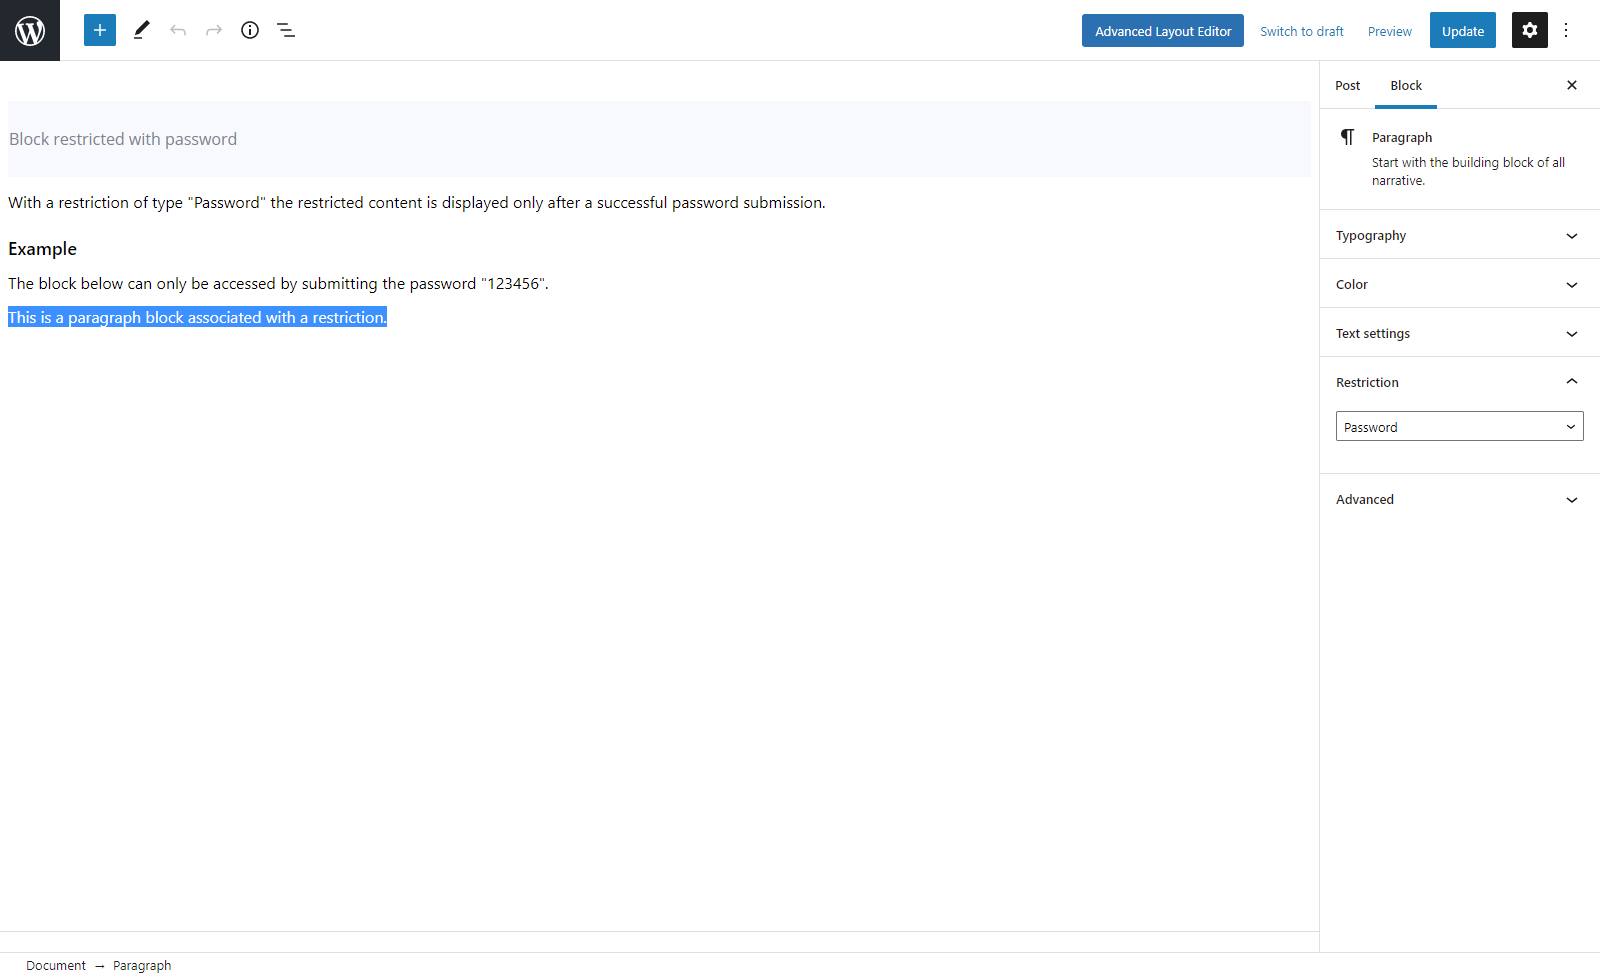
Restriction Selector
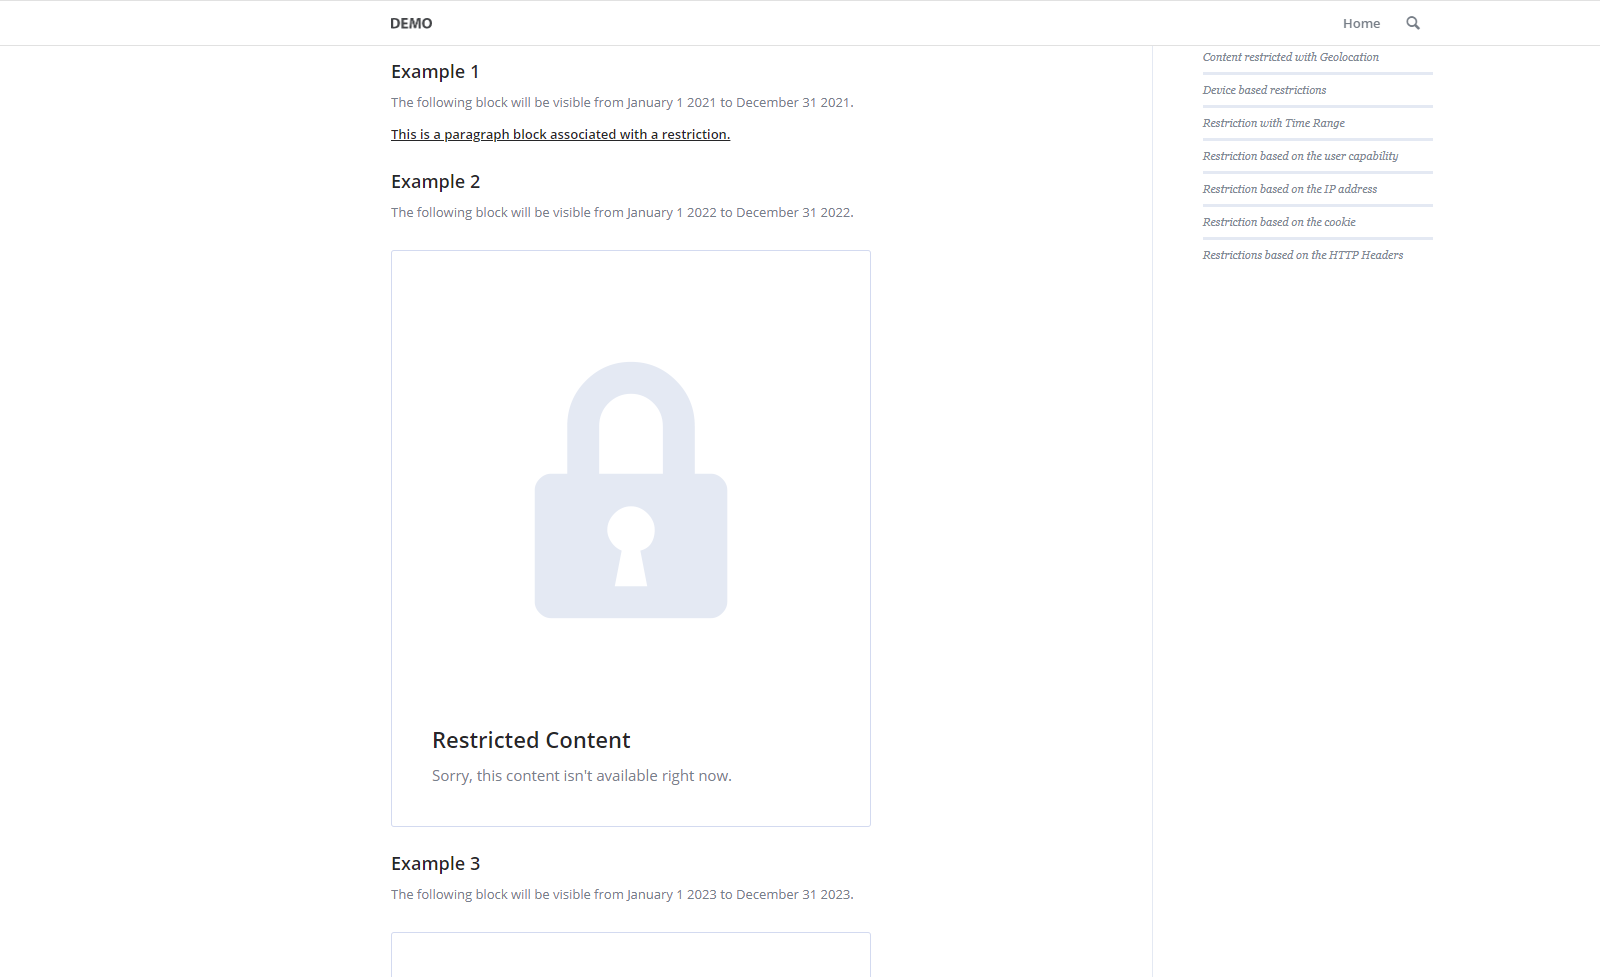
Easily Manage Block Visibility
Apply the configured restrictions to blocks using a dedicated selector available in the block editor sidebar.

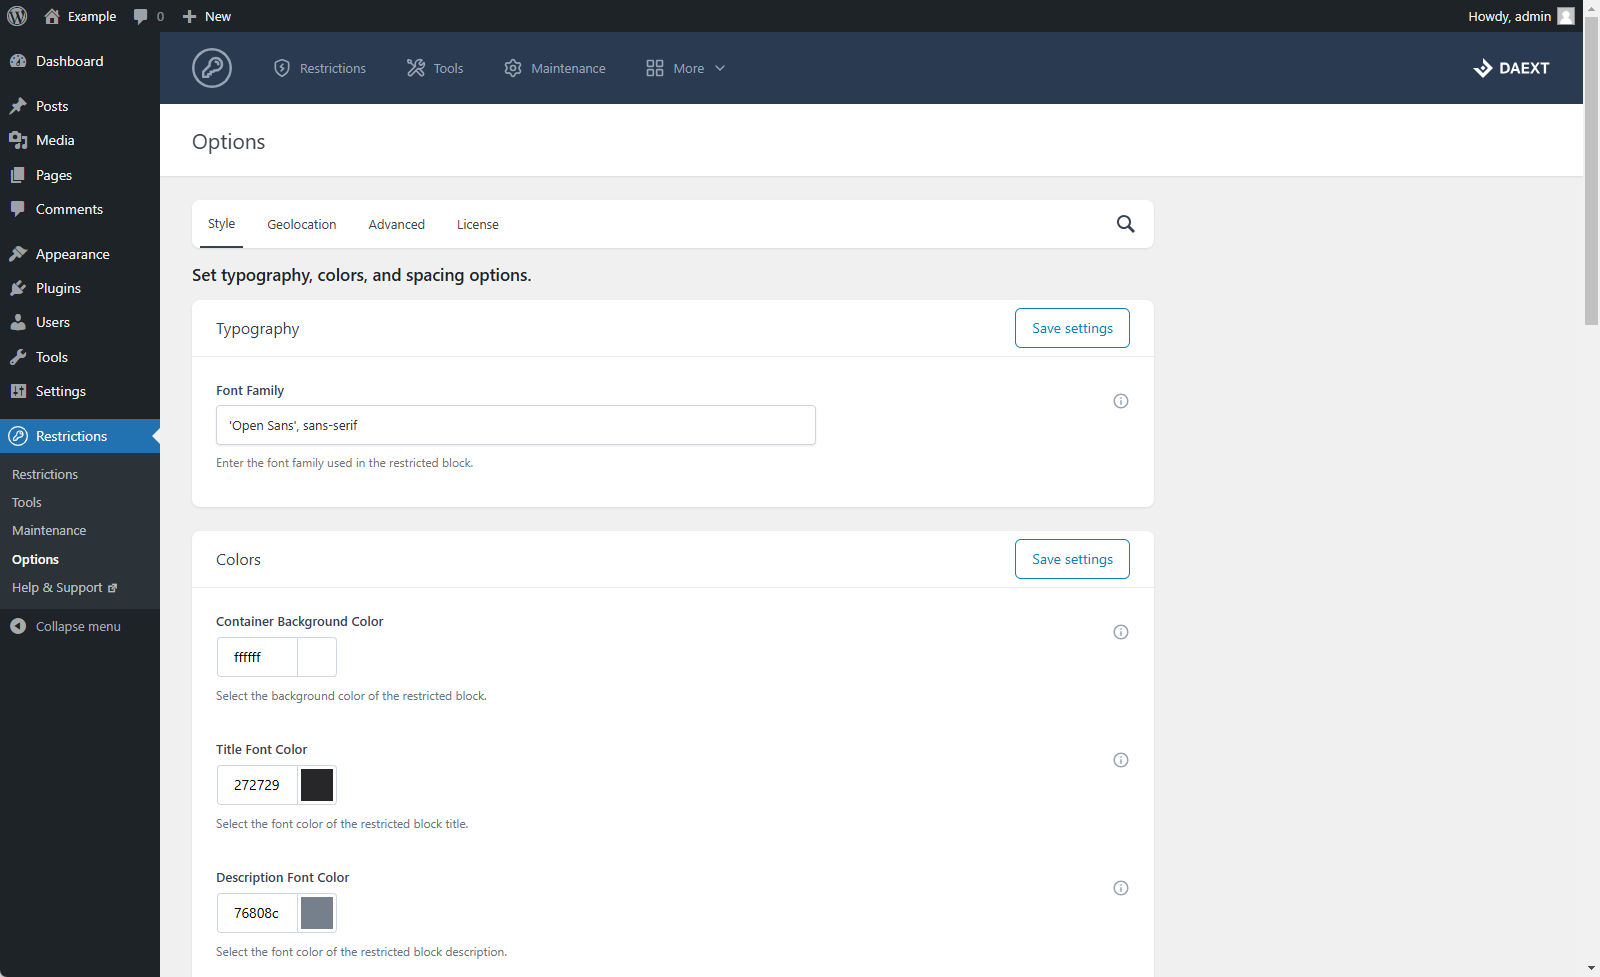
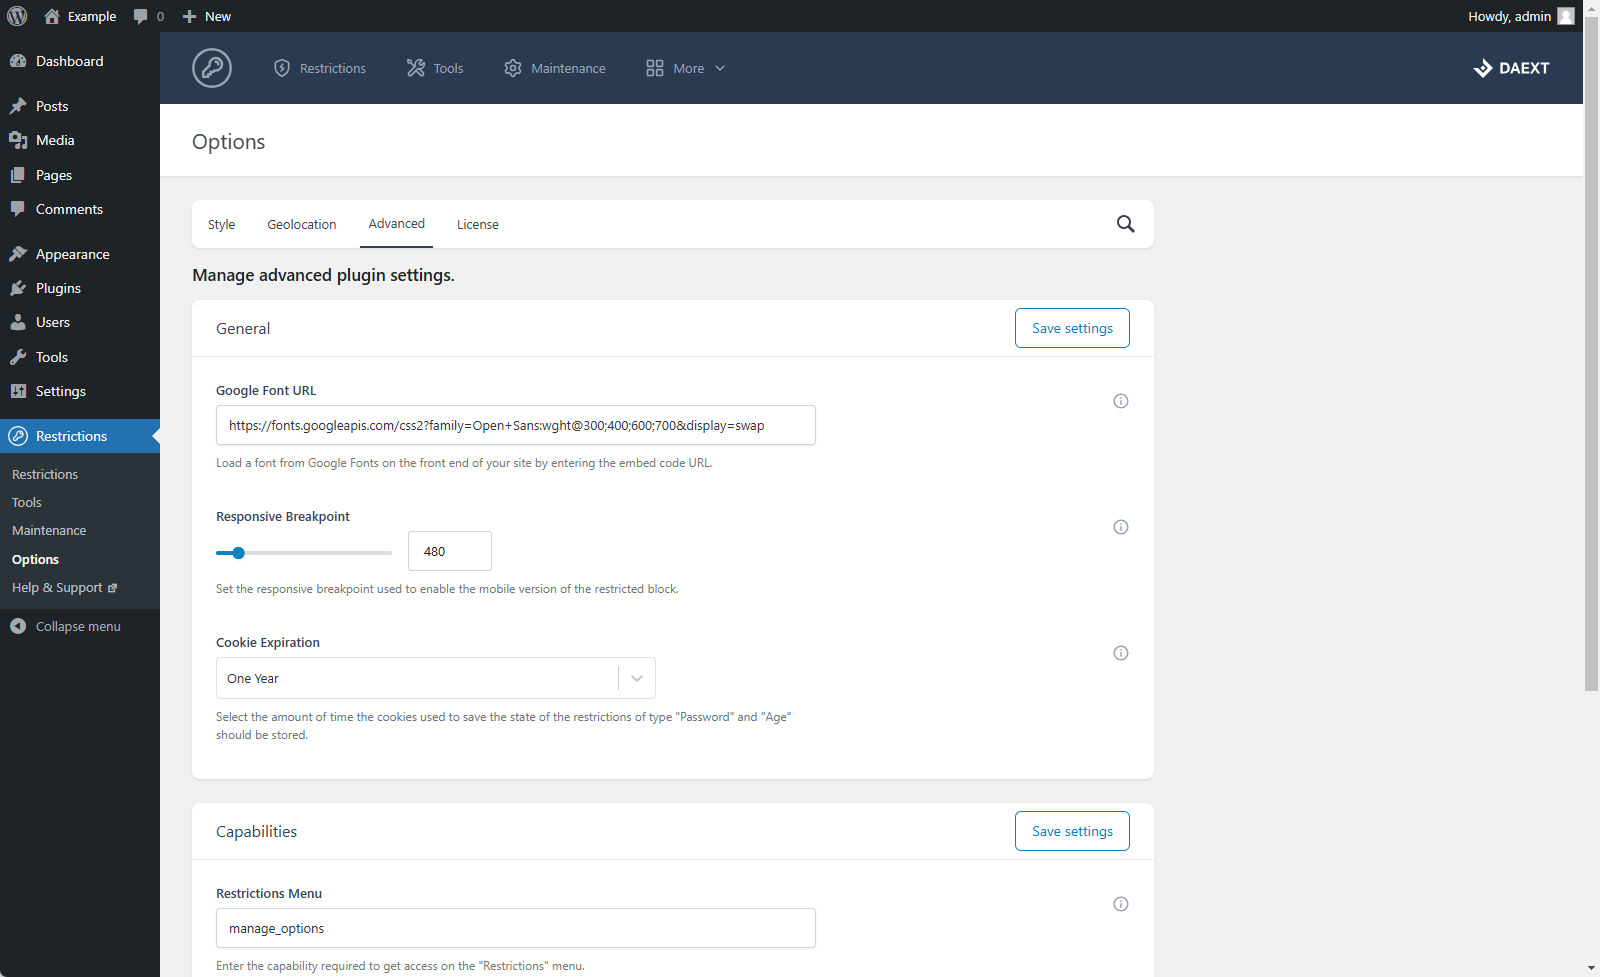
Customization Options
Quickly Adapt Style and Functionalities
This plugin includes 112 customization options that you can use to control the typography, colors, and layout of the elements of the elements displayed in the site front end.

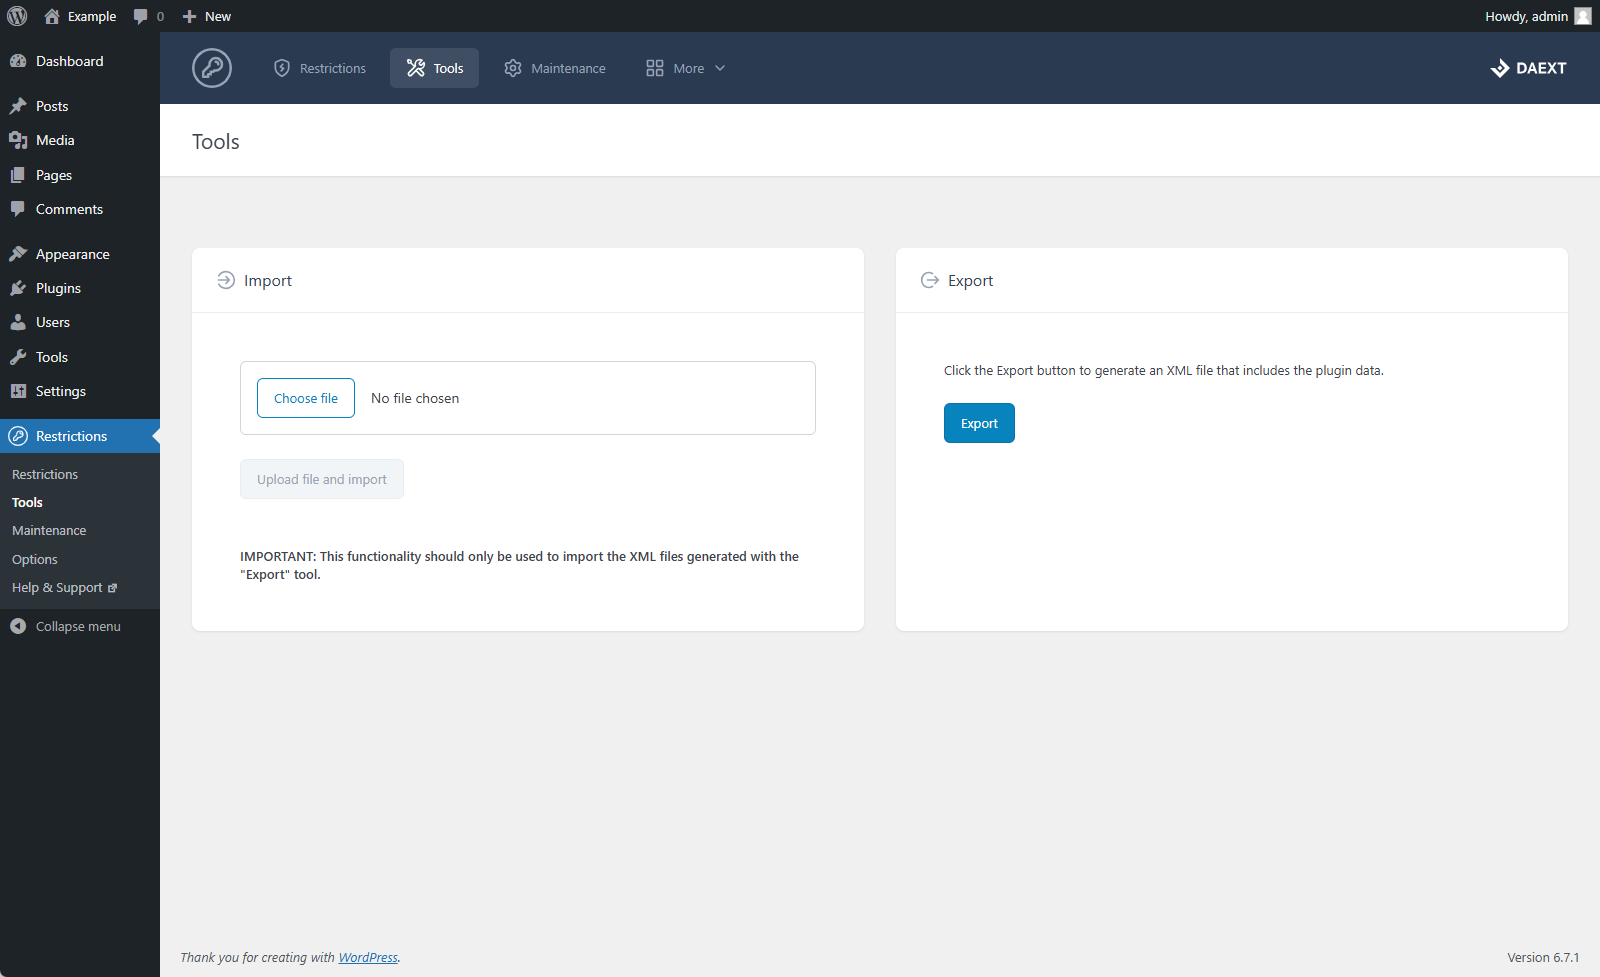
Import and Export
Easily Import and Export the Restriction Data
The import and export feature available in Restricted blocks allows you to archive your restrictions as XML files, so you can back up your restrictions, move data between different websites, and more.