

A good number of internal links to the product pages is essential to increase your sales. However, finding all the opportunities for linking these pages, it’s hard and time-consuming.
An auto-link plugin can identify suitable keywords for you and automatically link them to the product pages. More specifically, plugins like Interlinks Manager and Autolinks Manager can handle thousands of keywords, generate auto-link statistics, and even target specific post types, categories, tags, or sections of your blog.
This tutorial will show you how to create effective auto-links to your product pages with the best plugins currently available for WordPress.
Create the spreadsheet with the automatic links data
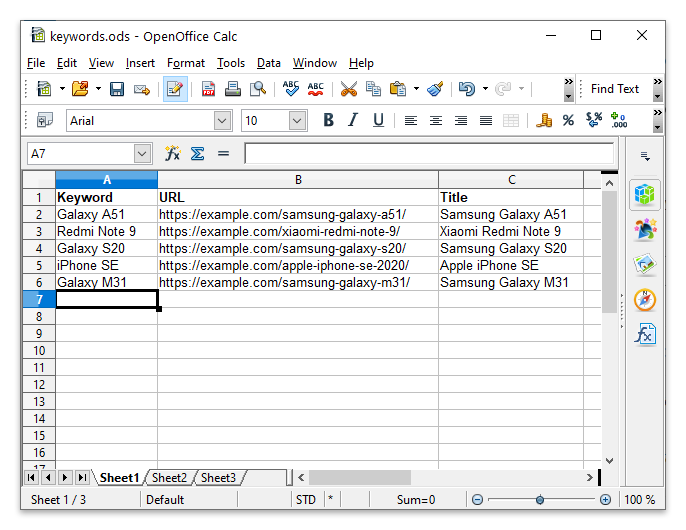
Create a spreadsheet file that includes a list of the product pages of your website. Then, organize this file with the following three columns:
- Keyword
- URL
- Title
Add anchor text variations
If you want to make the auto-links natural for the readers and the search engines, it’s essential to create multiple anchor text variations.
To create keyword variations, consider the use of synonyms, rephrase the sentence, or use Google to find new appropriate ways to describe the product page. In general, make sure that your keyword variations represent the product page that you are linking.
For example, if you are selling your new personal growth book, you might come up with keywords like “my new book”, “my latest release”, “self-growth book”, “self-help book” or with the book title.
Find an auto-link plugin
In this section, I will cover two advanced auto-link plugins from our portfolio.
Autolinks Manager
This is a specialized automatic links plugin that can create automatic links to internal and external pages.
It’s available for free on WordPress.org, or you can purchase the Pro version from this website.
Interlinks manager
Interlinks Manager is an internal links optimization plugin that includes auto-links capabilities limited to only the internal links.
Use this plugin if you want to create auto-links to the internal pages and, at the same time, improve your internal link structure.
Since we need to create automatic links that target our product pages, which are internal links, we will use this plugin for the rest of this tutorial.
Configure the Interlinks Manager plugin
This section will cover a series of configuration options that make the Interlinks Manager plugin versatile and powerful.
Enable the test mode
With the Test Mode option enabled, the plugin applies the auto links only when a user with the administrator role visits the website. In this way, you can test the plugin without actually modifying the website content.
Limit the number of automatic links per page
The plugin includes options to limit the number of auto links applied on your pages. You can set a fixed limit, a dynamic limit based on the post content length, or assign a limit to the individual keywords.
Enable the random prioritization option
Suppose that you limited the number of auto links applicable in the posts. Which keywords should have priority over the others?
With the Random Prioritization option, the plugin changes the priority assigned to the keywords to better distribute the auto links to the product pages.
Exclude tags and Gutenberg blocks
Do you want to apply the auto links only in specific sections of the post and exclude elements like headings, tables, lists, etc.? Then, you can configure this particular behavior with the Protected Tags and the Protected Blocks option.
Create the automatic links to the product pages
With the Interlinks Manager plugin, you can add the data used by the plugin to generate the auto links in two different methods.
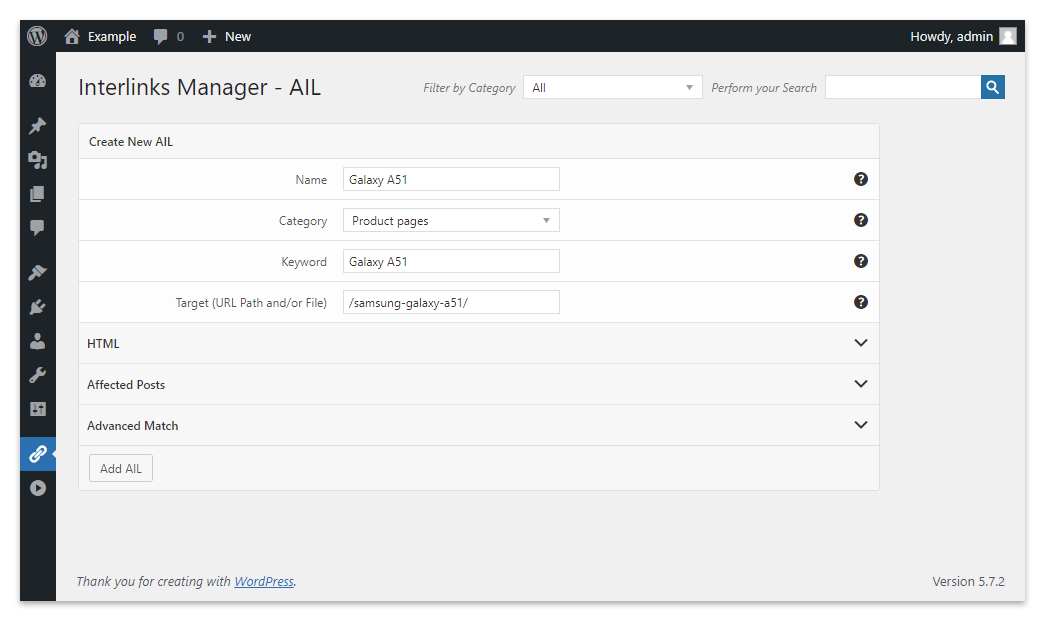
The first method is to manually add the keywords and the related URLs from the AIL menu. Use this method if you have a limited number of keywords or are interested in creating custom configurations for each keyword.
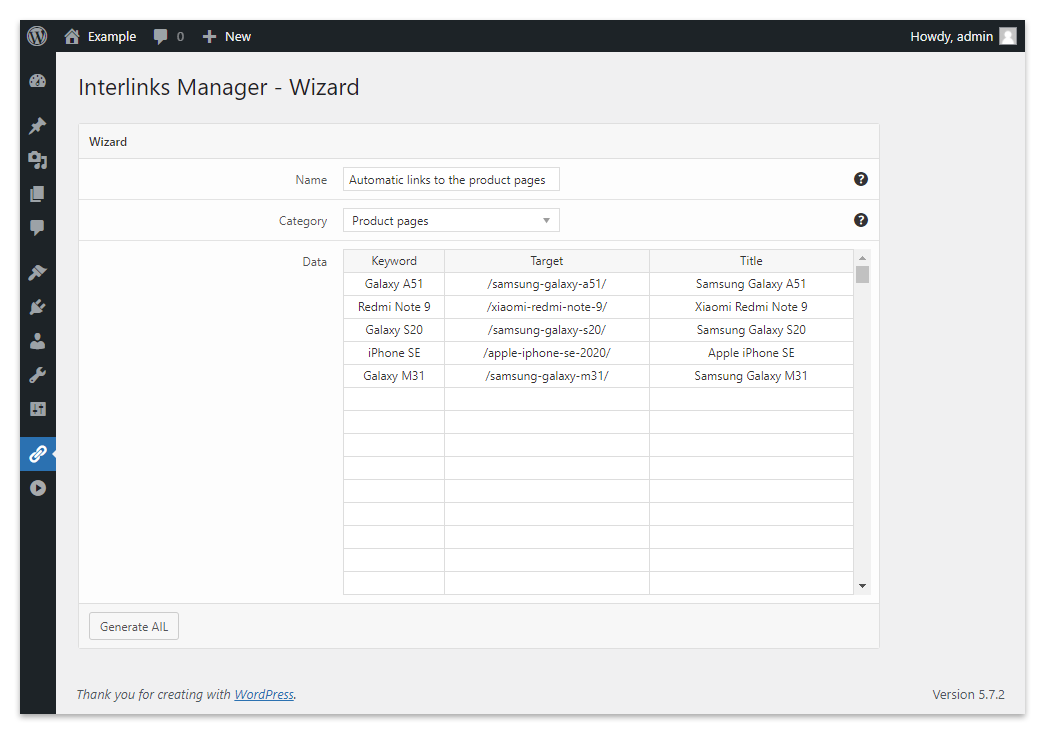
The second method allows you to move the auto links data available in your spreadsheet directly into the plugin. Use this menu to create a high number of automatic links in a single operation.
Note that when you use this method, the plugin creates all the auto links based on the options defined in the Options -> AIL menu.
Create the automatic links only in specific post types, categories, or tags
Assume that a website has a blog section used to promote the products. And that the articles in the blog section are stored in a custom post type named “blog”. In this scenario, you might decide to create auto links to the product pages only in this custom post type.
You can also be more restrictive by limiting the application of the auto links only to specific categories or tags. For example, you can apply the automatic links only to posts that belong to the “Book Reviews” category and that have the “Fantasy” or the “Horror” tags.
Create term groups for complex restrictions in terms of post type, taxonomy, and term
With the term group menu, you can combine multiple restrictions that consider at the same time post type, taxonomy, and terms (to know more on the concept of term, check out this article) and assign a name to this group of restrictions.
The term group below allows the auto links to be applied only on a limited set of categories.
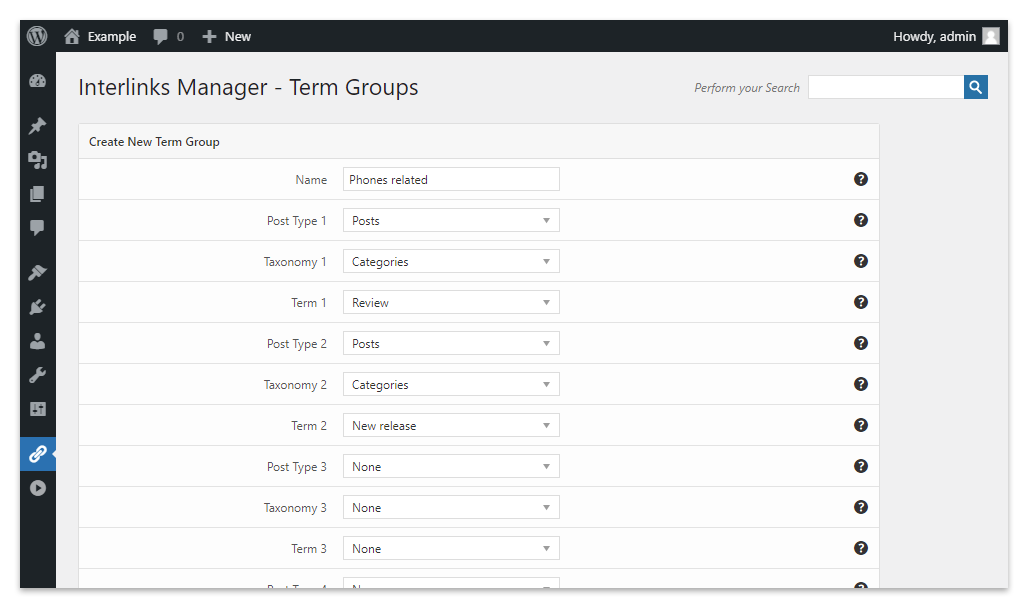
Note that you can associate term groups to the keywords in the Affected Posts section of the AIL menu.
Verify the presence of the automatic links in the product pages
You have now completely set up the plugin. Let’s verify the results of our configuration.
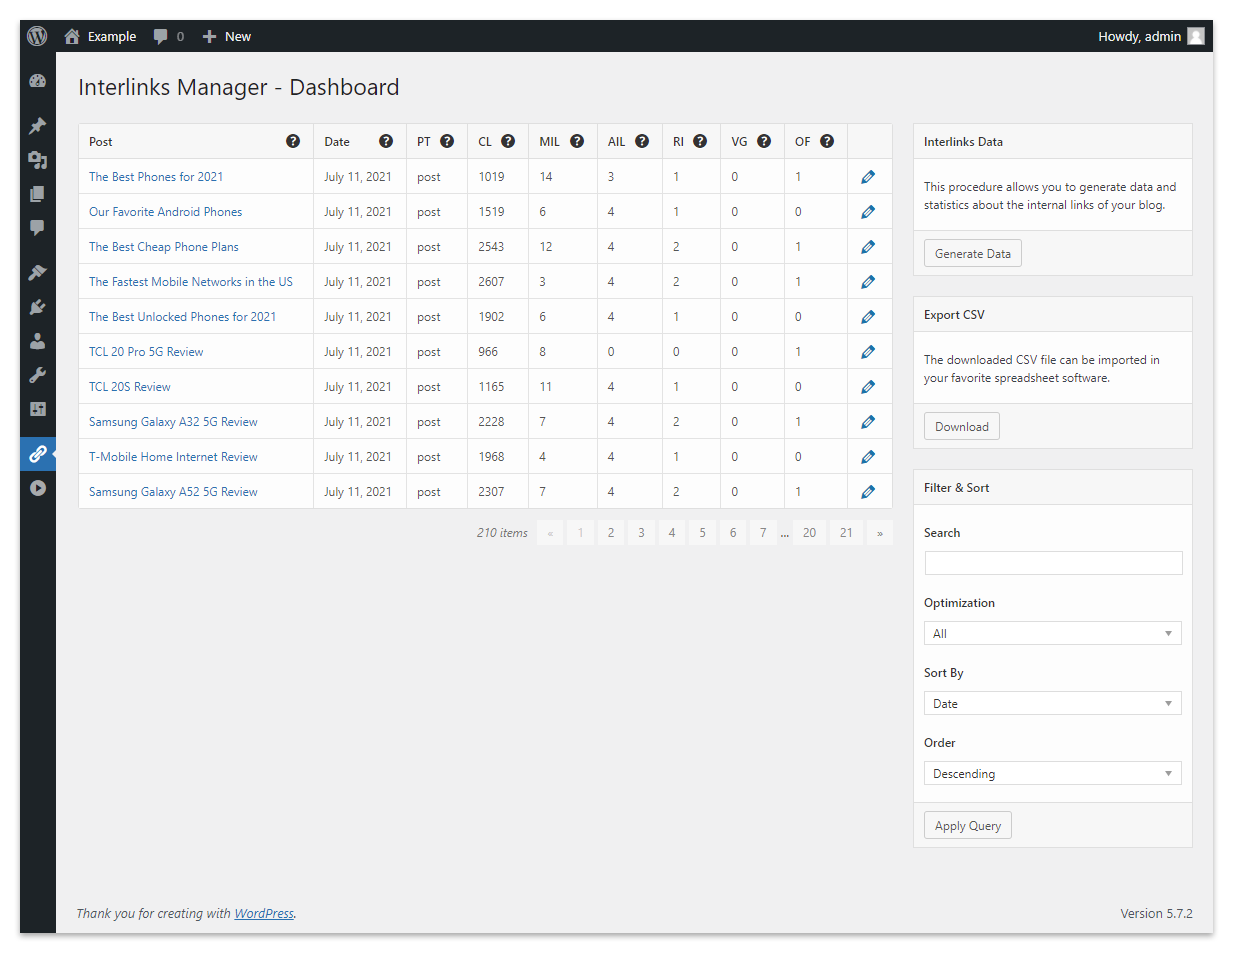
The Dashboard menu of the plugin lists all the posts of the website. For each post, the following statistics are provided:
- Post name
- Date
- Post Type
- Content Length
- Manual Internal Links
- Automatic internal links
- Recommended number of internal links
- The visits generated with the internal links
- The optimization status of the internal links
The AIL (Automatic internal links) column reports the number of auto links applied by the plugin to each product page. Use this value to decide if you want to keep the existing configuration or apply specific changes.
Take all the time necessary to apply new configuration changes and test the results. After all, the plugin is in test mode, and neither your website visitors nor the search engine will see the auto links at this point.
Verify the link juice distribution
Are you linking enough to a specific product? How many auto links are pointing to a product page? How much link juice is produced by the internal links?
You can have answers to all these questions in the Juice menu of the plugin.
This menu lists all the URLs that received at least one internal link. This list is ordered from the URLs with the highest estimated link juice to the URLs with the lowest estimated link juice.
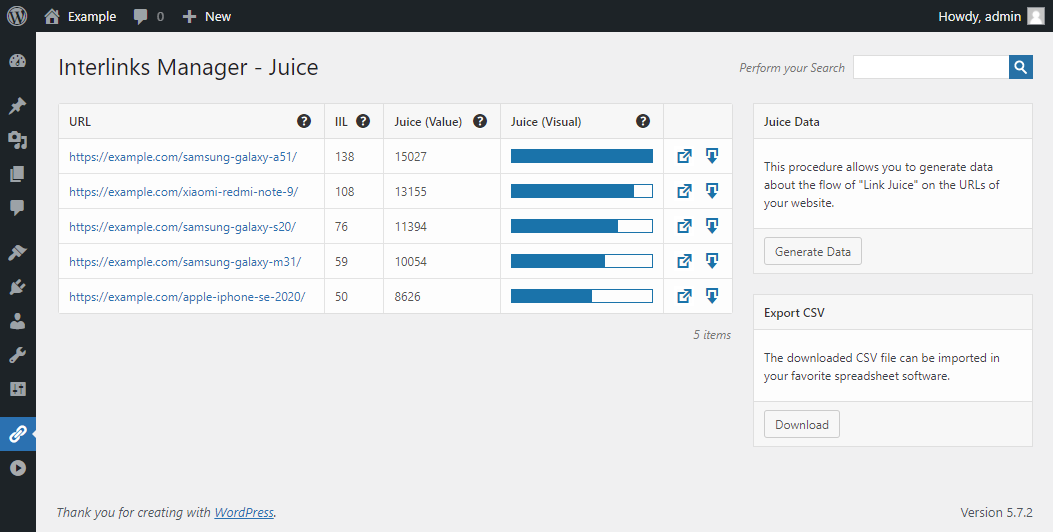
The number of internal links received by the URL is available in the second column. In the third and fourth columns, you will find the estimated link juice value.
You can also open a modal window that lists all the internal links contributing to the overall link juice value.
Disable the test mode
If you are happy with the automatic links generated by Interlinks Manager in your product pages, then disable the Test Mode option and go live with the new auto links.
A safe strategy for applying auto links to your product pages
While applying automatic links to the product pages is convenient, especially for websites with a lot of content. A bad implementation of this technique can damage your website SEO.
For this reason, I want to summarize the strategy explained in this tutorial in four straightforward steps:
- Plan the exact objective in terms of the number and type of auto links based on the specific peculiarities of your website.
- Limit the number of auto links with the plugin configuration options.
- Create a high number of keyword variations.
- Test your result and apply configuration changes when needed.