Zebra striping is a visual technique used to improve the readability of tables. WordPress blogs that constantly publish statistics, prices of products, or, more in general, lists of items should consider this approach to make the life of their user easier.
If you are still not convinced about applying zebra striping to WordPress tables, read this interesting article on A List Apart on the studies completed to verify the efficacy of this technique.
Create zebra striped tables with the “Table” block
The Table block has been introduced in WordPress 5.0 with the Gutenberg editor. This new element greatly simplify the creation of tables with WordPress. It’s also extremely easy to use and comes with a ready-to-use “Stripes” style.
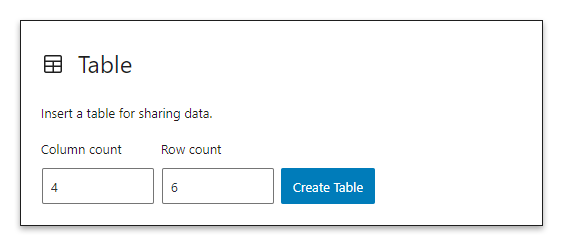
To create a table, open the block selector and click on the Table block. Then set the number of Columns and Rows of the table in the provided form.
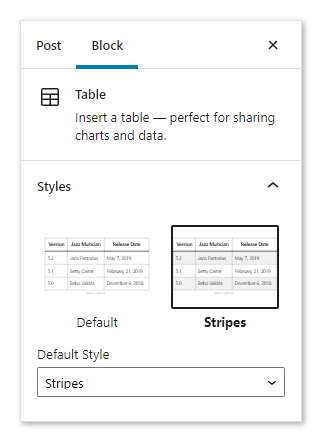
You can now explore the block options by clicking on the Cog icon available in the top-right section of the screen. In the Styles section you will find the list of available block styles, select “Stripes” to apply zebra striped rows to the table.
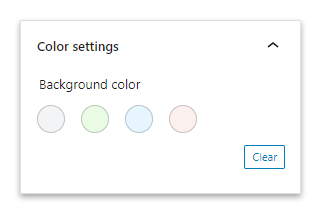
Note that you can define the Background color of the table in the Color settings section. However, the number options available in this section is limited.
Add a new block style
In the following steps, I’ll guide you in creating a simple plugin that defines a “Custom Stripes” block style for the Table block.
The plugin is composed of two files. The first file is main.php, which registers a block style and the related stylesheet.
<?php

/**
 * Plugin Name: Add Table Block Style
 */

if ( function_exists( 'register_block_style' ) ) {

    function register_table_block_styles() {

        /*
        * Register a stylesheet with the CSS rules for the "Custom Stripes" block style.
        */
        wp_register_style(
            'custom-stripes-stylesheet',
            plugins_url( 'style.css', __FILE__ ),
            array(),
        );

        /*
        * Register a new block style for the Table block.
        *
        * The value of 'name' is used to create a class for the block. The 'label' value is used as the block style
        * name. The handle 'custom-stripes-stylesheet' is associated with the stylesheet.
        */
        register_block_style(
            'core/table',
            array(
                'name' => 'custom-stripes',
                'label' => 'Custom Stripes',
                'style_handle' => 'custom-stripes-stylesheet',
            )
        );

    }

    add_action( 'init', 'register_table_block_styles' );

}
The second file is the style.css stylesheet, which includes the CSS rules with the customizations. In this simple CSS file, the first selector targets the odd rows and the second the even rows.
.is-style-custom-stripes tr:nth-child(odd) {
    background-color: #ffffff !important;
}

.is-style-custom-stripes tr:nth-child(even) {
    background-color: #FCFCFC !important;
}
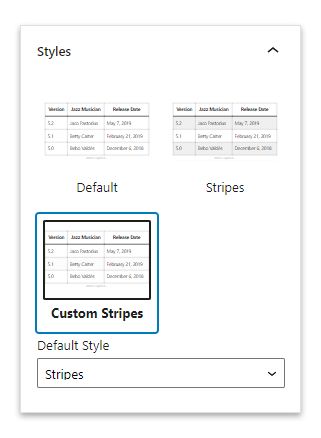
Once you activate this plugin, WordPress will display the “Custom Stripes” block style after the other default styles.
Create zebra striped table with a WordPress plugin
As demonstrated in the previous section, zebra striping is easy to apply in the Table block or in any HTML table published in your posts. For this reason, I recommend using WordPress plugins only if you need advanced features like sorting, pagination, data import and export, data synchronization with external sources, or other.
League Table
League Table is a premium table plugin that includes a spreadsheet editor to easily import and export the table data, an advanced sorting system, and many style customization options. It’s worth to mention that you can also download for free the lite version of League Table on WordPress.org.
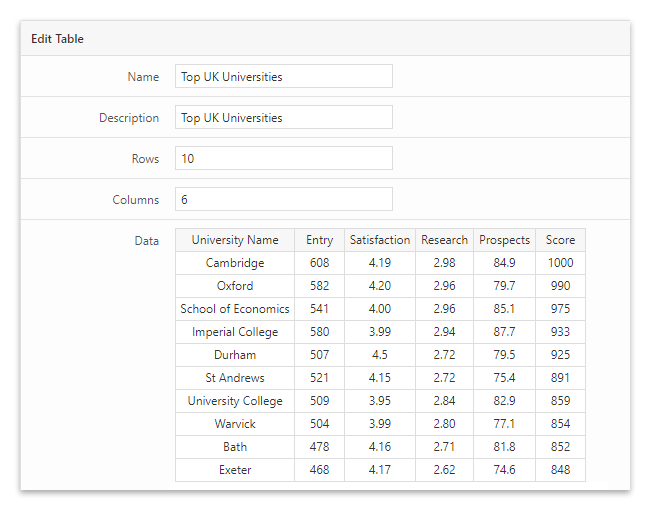
To create a table with striped rows with this plugin, visit the Tables menu and insert the table name, the table description, and the table data.
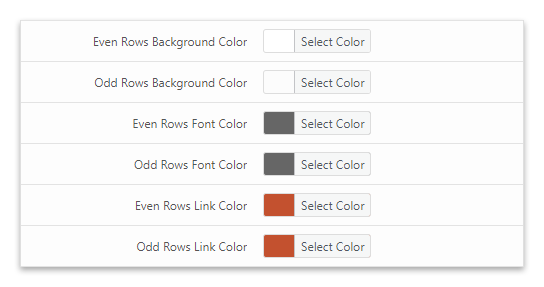
Then open the Style section and edit the six fields that allow you to manage the background color, font color, and link color of the even and odd rows.
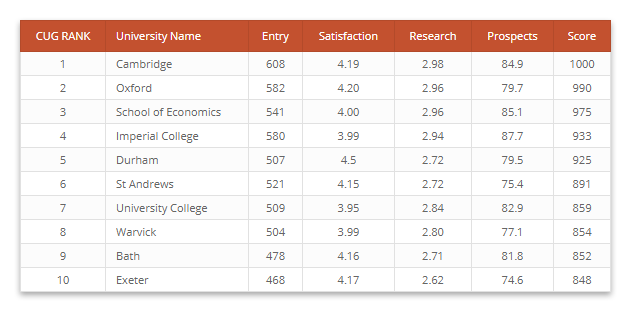
The resulting table with striped rows is now available in the front-end. A light grey color has been applied to all the odd rows.
TablePress
TablePress is a popular plugin for creating tables with WordPress.
Create your first table by visiting the Add New Table menu of TablePress. Then enter the table data and activate the table options based on your needs.
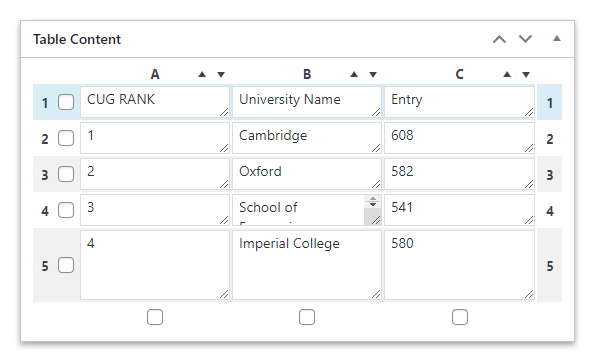
When your table is completed, you can add it to your posts with a shortcode.
[table id=1 /]
To enable the striped rows, set the alternating_row_colors parameter to true as stated in the plugin FAQs.
[table id=1 alternating_row_colors=true/]
The table generated with TablePress is now available in the front-end with striped rows.
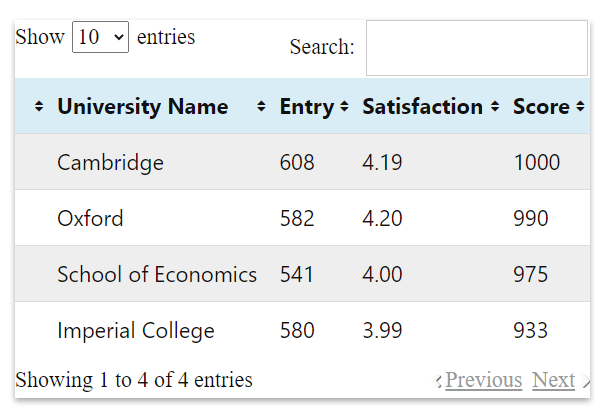
You can customize the color of the even and odd rows with the following CSS rules:
.tablepress .even td{
    background-color: #eeeeee !important;
}

.tablepress .odd td{
    background-color: #ffffff !important;
}
Apply striped rows to existing WordPress tables
Suppose your website includes tables created with methods not listed in this tutorial. In that case, you can still apply striped rows by targeting the tables with high-specificity selectors or by using the !important directive.
The example below demonstrates how to target the even and odd rows of a table with a generic selector.
table :nth-child(even) td{
    background: #ffffff !important;
}

table :nth-child(odd) td{
    background: #eeeeee !important;
}
