

Implementing hreflang in a large network of websites is extremely beneficial in terms of SEO. However, using this particular technical solution in such a context can quickly become a nightmare.
To speed up this process, the Hreflang Manager plugin for WordPress includes both a feature to automatically sync the data across the entire network of sites and import/export functionalities to manually move the hreflang data between the websites.
Basic usage of Hreflang Manager
The implementation of hreflang consists of providing the search engines data about the different versions of the pages targeted for specific languages, script languages, and regions.
You can set up hreflang in three methods: Sitemap, HTML tags, and HTTP headers. However, the most common method, used in the example that follows and also by Hreflang Manager, is to add the HTML tags.
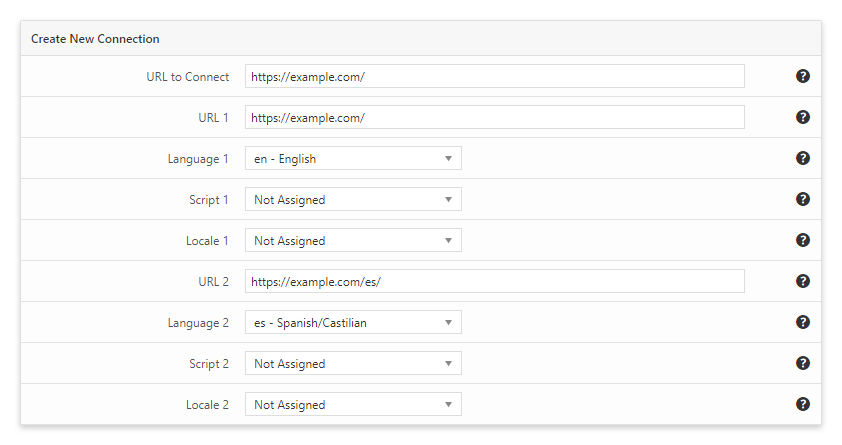
The example below demonstrates the use of hreflang tags with a website that has an English and a Spanish version:
<link rel="alternate" hreflang="en" href="https://example.com/"/>
<link rel="alternate" hreflang="es" href="https://example.com/es/"/>
To apply the same hreflang settings with Hreflang Manager visit the Connections menu in the admin side of WordPress and enter the URL of the page where you want to implement hreflang along with the URLs of the different versions of the page with their related languages, language scripts, and locale.
For general information about hreflang, consider reading the documentation provided by Google or articles from reliable SEO blogs like this one from Ahrefs.
Now let’s dive into the specific features of Hreflang Manager dedicated to making the hreflang implementation in large networks of websites fast, easy, and manageable.
Sync hreflang in all the sites of the network
The Sync feature included in the Pro version of Hreflang Manager uses WP-Cron and the REST API of WordPress to sync the hreflang data across the entire network of websites.
Below you can find the steps required to activate the sync feature. For additional details on this procedure, please also consider reading the Sync section of the plugin manual.
1 – Identify the master website
The master website is the WordPress installation (or WordPress sub-website of a WordPress network) where you manually configure hreflang by adding the data of the alternate versions of the pages. This site will be the source of hreflang data for all the slave websites.
2 – Add the hreflang data on the master website
While in the master website, visit the Connections menu of Hreflang Manager and add all the pages with an alternate version.
3 – Enable the sync functionalities in the master website
From the plugin options, we have now to configure this website as the master website. To do so, proceed as follows:
- Set the Status option to “Enabled”. When activated in a master website, this option exposes the hreflang data from a new REST API endpoint.
- Set the Role option to “Master”.
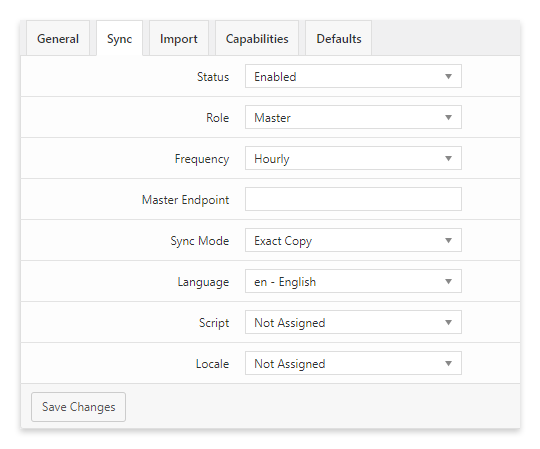
You have now completed the configuration of a master website.
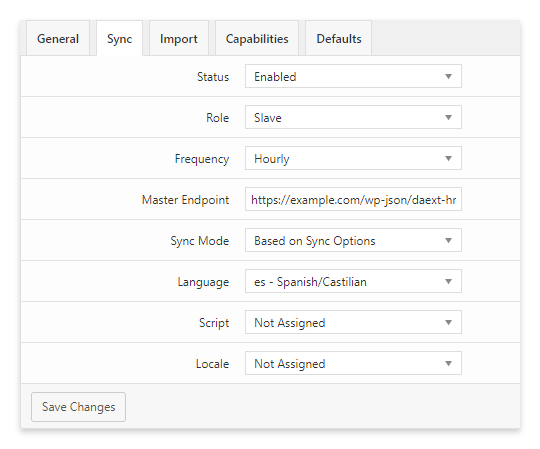
4 – Set up the slave websites
Slave websites constantly update their hreflang from the data of the master website.
In terms of configuration, in these websites, you have only to enable the sync feature, select the frequency of the updates, and set the REST API endpoint of the master website.
Move the hreflang data across the WordPress websites with the import/export feature
As an alternative to the Sync feature, with Hreflang Manager, you can also move the hreflang data across your network sites by using the import/export feature.
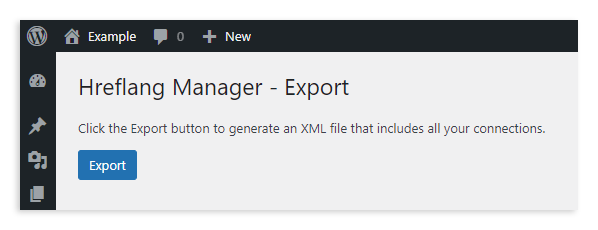
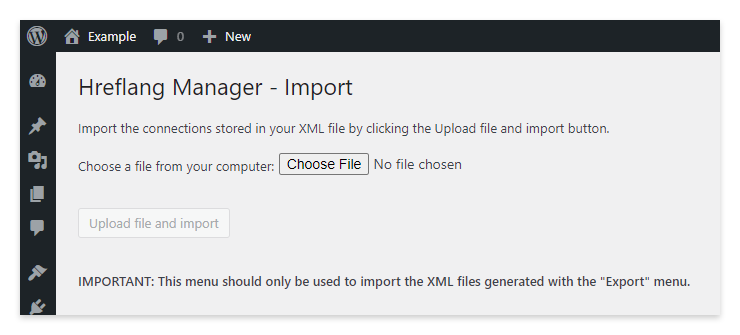
To use this feature, first visit a website that includes hreflang data and use the Export menu to create an XML archive. This file contains all the hreflang data of the site from which it has been exported.
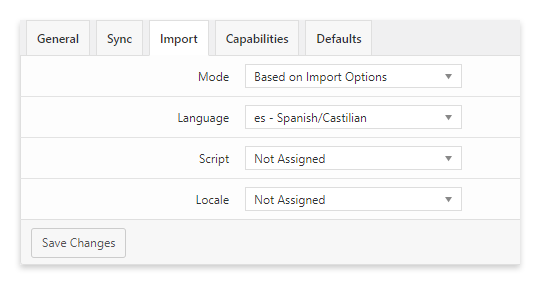
Then enter a network site with no hreflang data and configure its language, script, and locale from the Import tab of the plugin options.
Finally, import the hreflang data with the Import menu. This process can take a few seconds to several minutes, depending on the number of pages present in the archive.
Don’t forget to repeat this process for all the network sites that are still without hreflang data.