
Membership plugins to password protect specific pages of your blog are now very common, both as free or paid add-ons. However, these plugins generally create restrictions for the entire pages and not on the block level.
Our company tackled this problem by developing Restricted Block, a WordPress plugin that allows the WordPress administrator to protect specific WordPress blocks based on custom criteria.
In this article, you will learn how to create password-protected WordPress blocks for various types of content.
Create a password-protected block
The Restricted Blocks plugin allows the WordPress administrator to create multiple types of restrictions. One of these restrictions is the “Password” restriction.
To create a password-protected block, start by installing the Restricted Blocks plugin, which is available for free on WordPress.org, or as a premium add-on on our website.
Once the plugin is installed, visit the Restrictions menu. This menu allows you to create an unlimited number of custom restrictions.
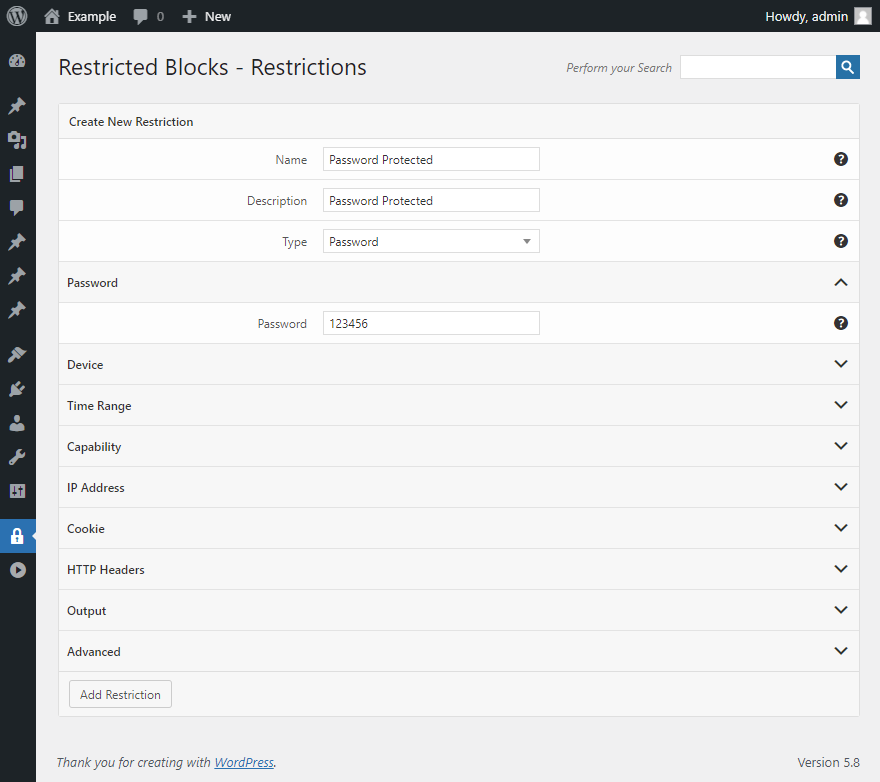
Then, assign a name and a description to the restriction, select “Password” as the type of restriction, and enter a password in the input field available in the Password section.
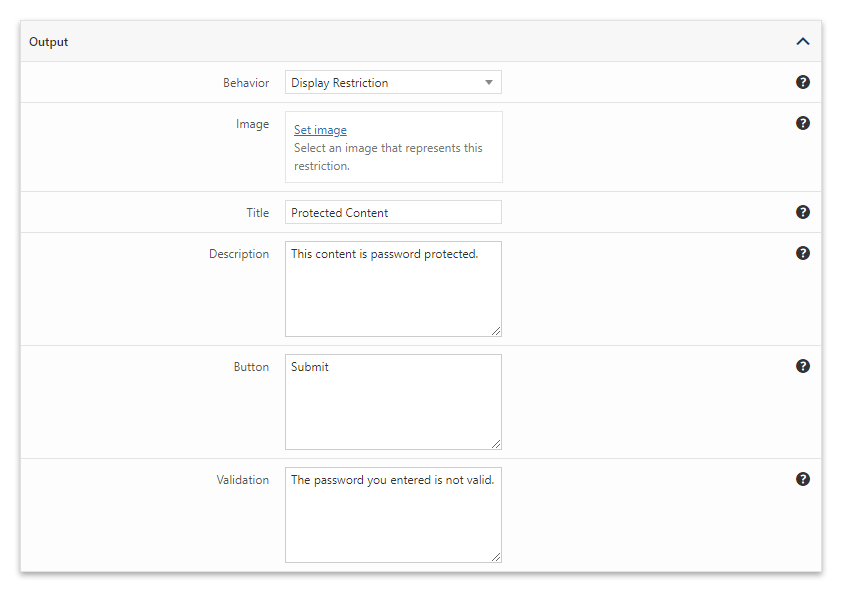
Optionally, you can customize the strings included in the front-end form with the options available in the Output section.
To conclude, save the restriction with the Add Restriction button.
Your restriction is now ready to be used. We are going to associate this restriction with the blocks in the sections that follow.
Password protect files
The ability to protect downloadable files with a password comes in handy whether you are distributing pdf files, exercises for the students of a class, or other private material.
To create password-protected downloadable content, we must create a simple layout composed of a caption and a download button.
Once your layout is complete, select all the layout elements with the mouse and use the block toolbar to create a group block.
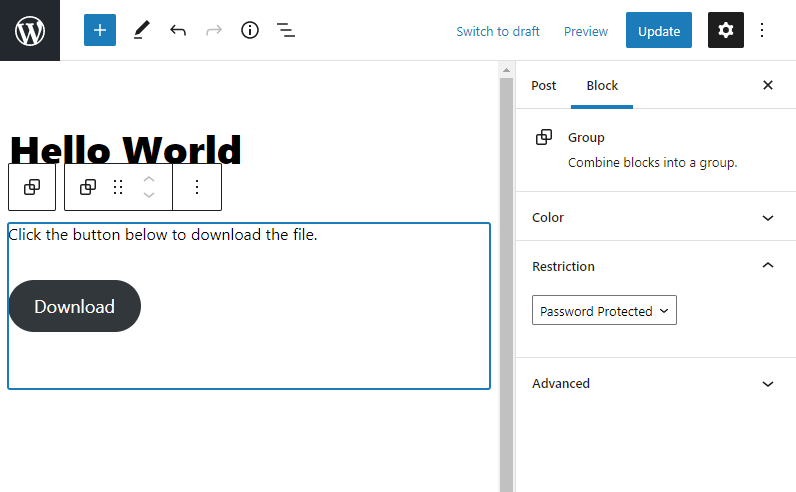
Finally, associate the group you just created with the restriction of type password.
Password protect part of the article
Many news networks and blogs nowadays use teaser content to attract visitors and push them into a conversion. The services sold are usually monthly or yearly subscriptions that grant access to all the website content.
To replicate this behavior on your website, select all the blocks part of the protected section. Then, use the block toolbar to assign all these blocks to a group.
With the new group selected, assign a restriction with the selector available in the block sidebar.

Password protect audio and video
There are many cases where a you would want video and audio content consumed only by specific users. For example:
- When the material is hosted without external platforms, and you want to save bandwidth.
- When the content has been created for particular users, as in school lessons created for one specific class.
- In the case of paid material that should be consumed only by the users that purchased a service.
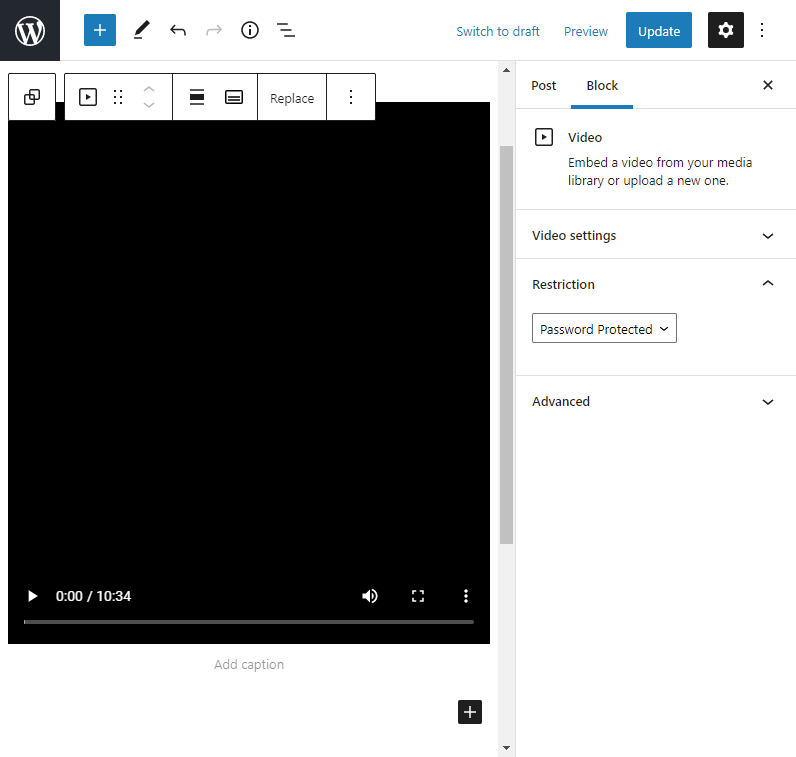
To protect your audio or video content with a password, simply open the block sidebar associated with your content and select a configured restriction.
Additional Tips
Verify a WordPress account instead of a password
The Restricted Blocks plugin allows you to make blocks visible only to registered users that own particular capabilities.
To achieve this, create a restriction of type “Capability” and enter one or more capabilities in the Capability section.
Control the expiration of the cookies
The plugin allows you to set the expiration of the cookie associated with each restricted block. This cookie is used to save the block status (locked/visible).
To customize this value, set the expiration in seconds with the Cookie Expiration option available in the Advanced section of the plugin.