Organizing Rules with Categories
Categories let you group related Auto Link Rules together for easier organization. They are purely organizational and have no effect on how a rule is matched or applied to your content; their only purpose is to help you keep a large set of rules manageable.
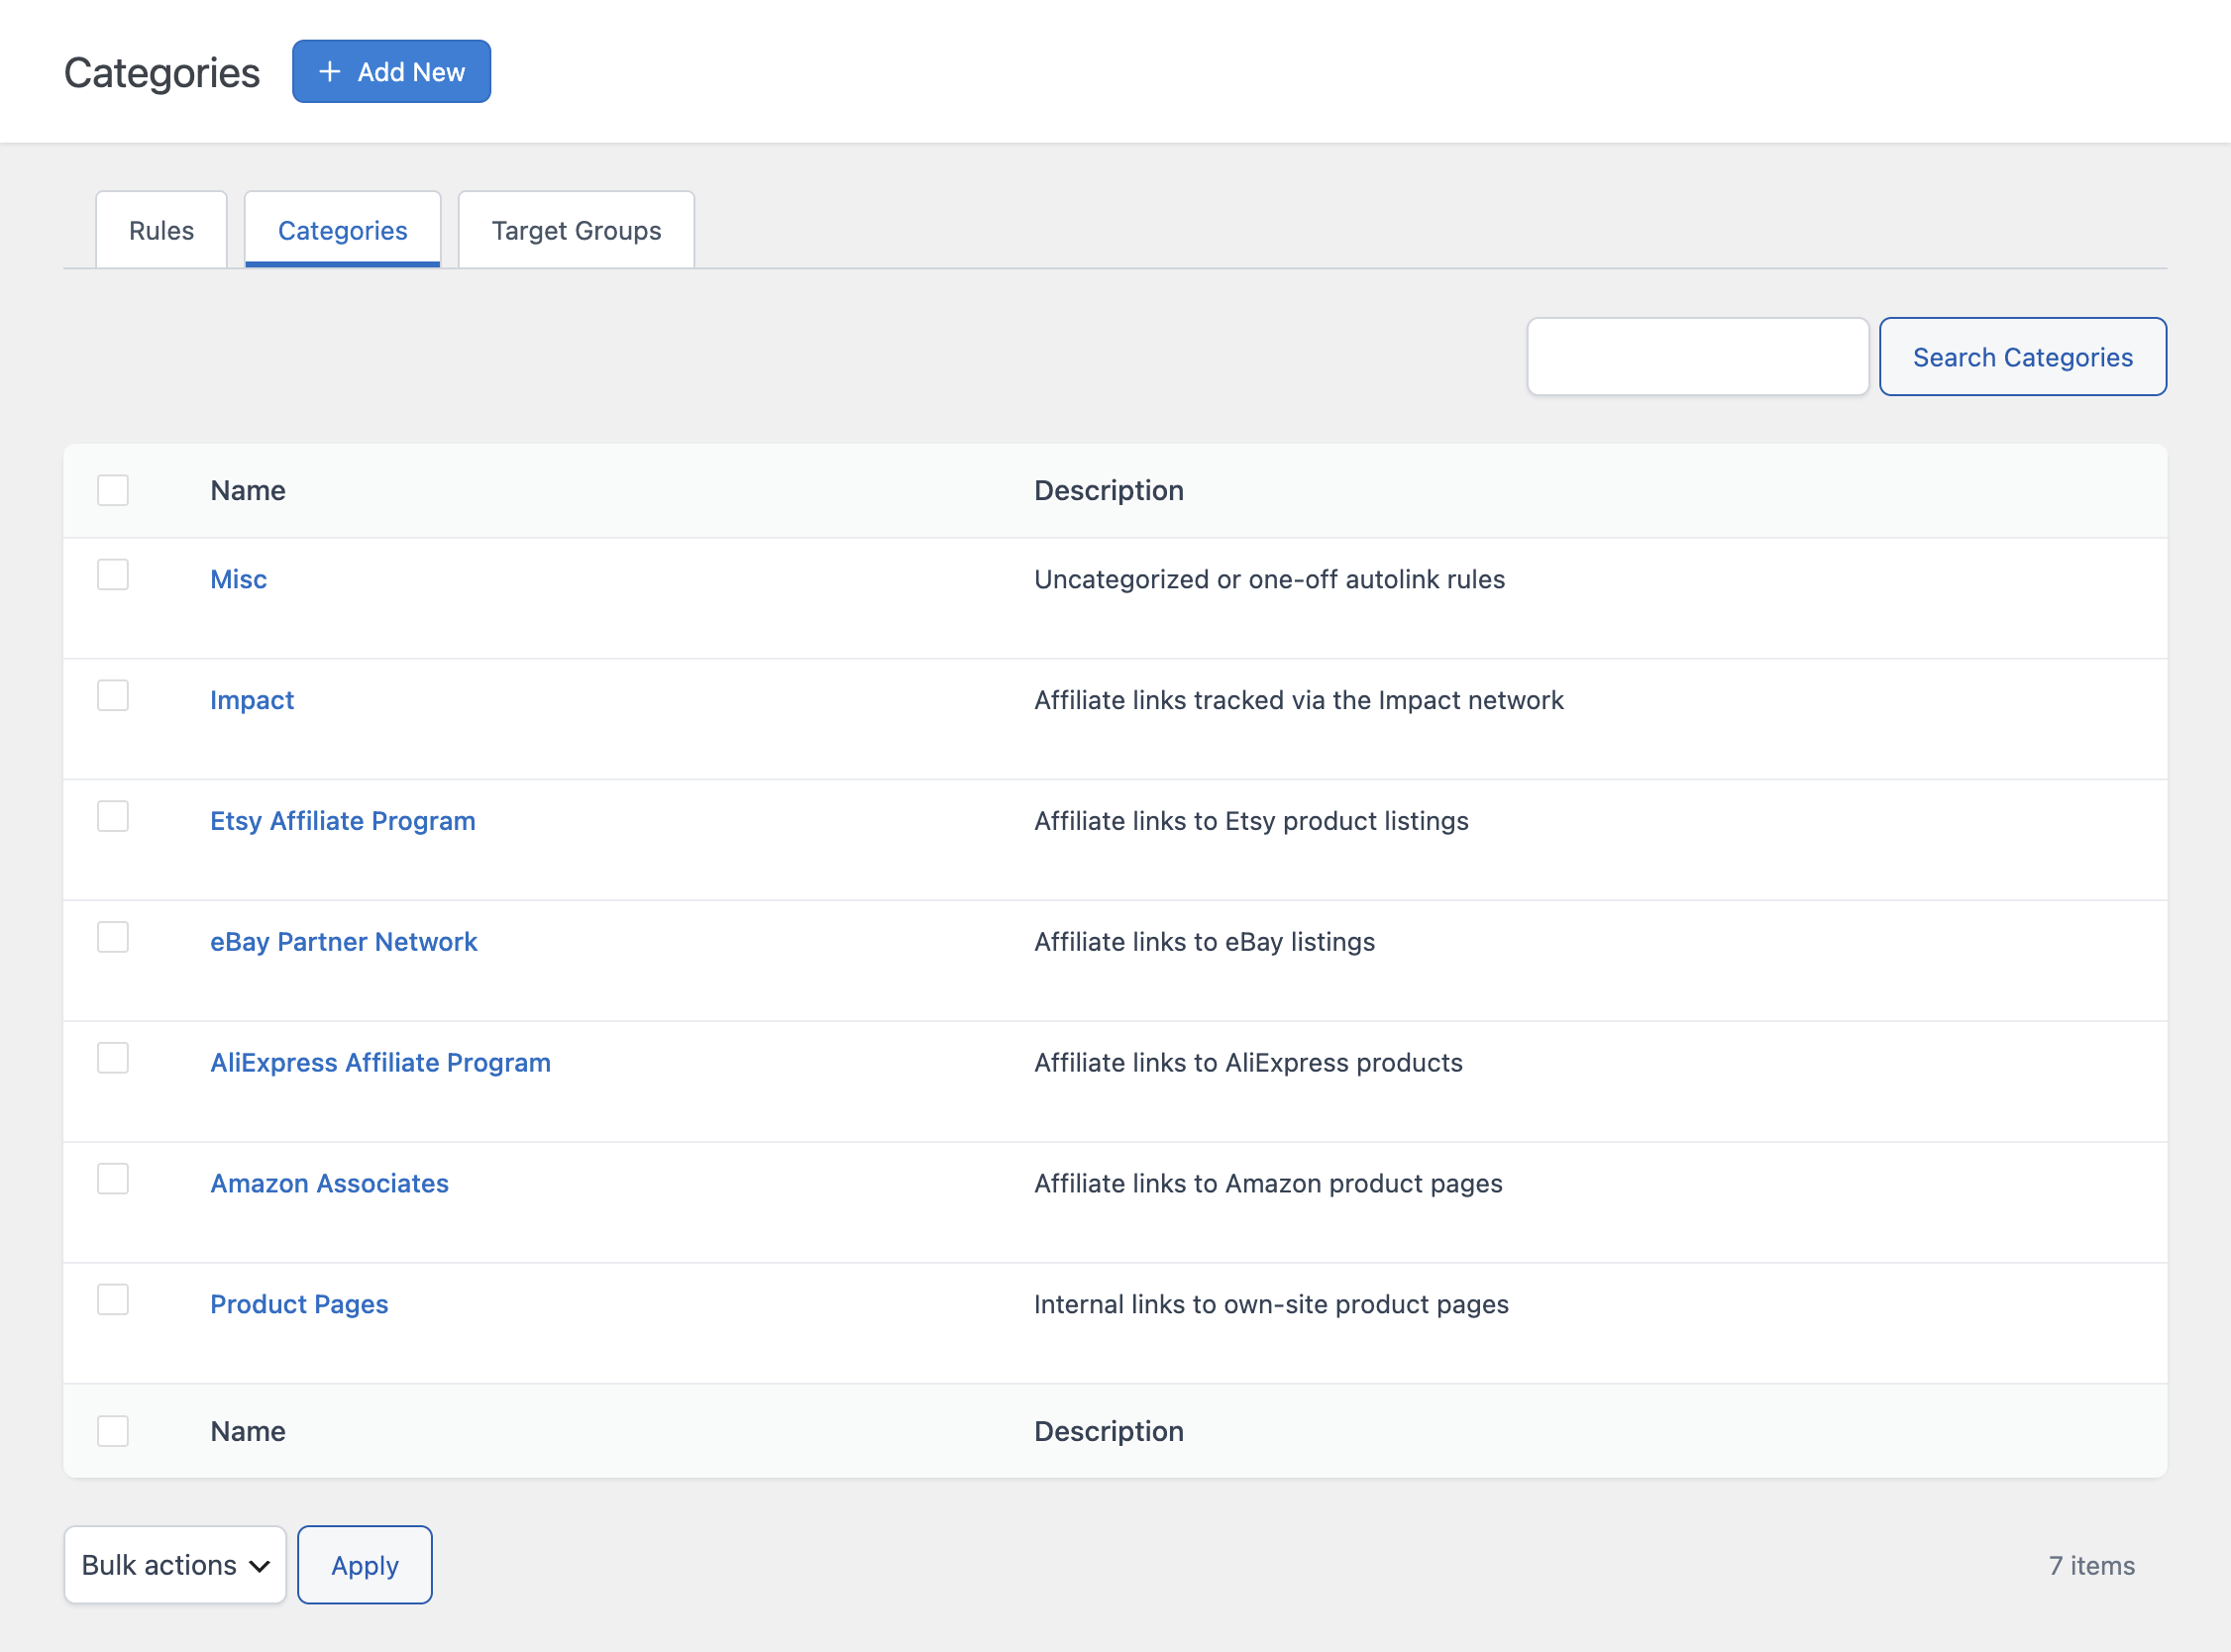
When to Use Categories
Categories become useful once you have more than a handful of rules. For example, you might group rules by:
- The type of content they target, such as “Product Links” or “Glossary Terms”
- The campaign or initiative they belong to, such as “Q1 Affiliate Push”
- The team or person responsible for maintaining them
Once a rule is assigned a category, you can use it to scan and identify related rules more easily in the Auto Link Rules list.
Creating a Category
Open the Categories tab from the Auto Link Rules menu and click Add New.
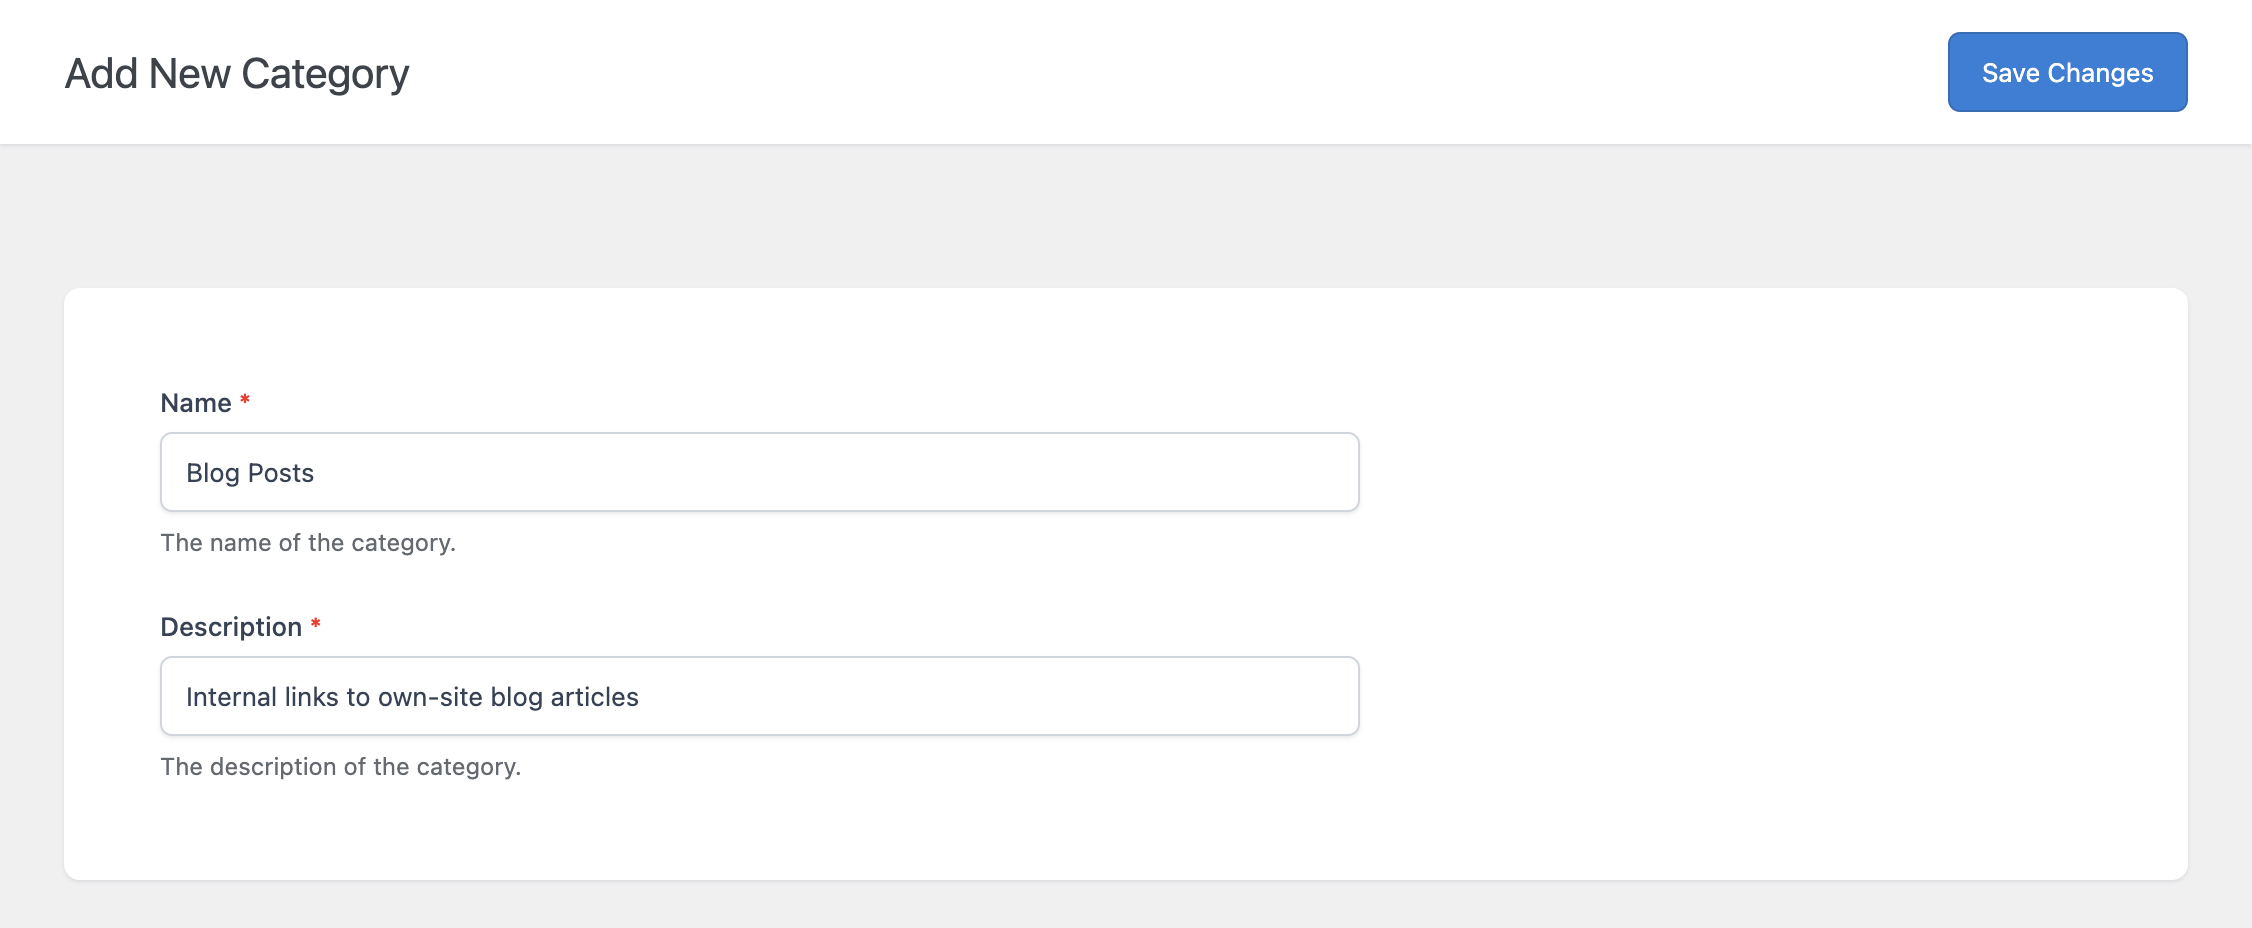
- Name – A short label for the category, shown in the Category dropdown when creating or editing a rule
- Description – A longer explanation of the category’s purpose, shown in the Categories list
Assigning a Category to a Rule
Once created, a category becomes available in the Category dropdown of the Auto Link Rule form. Select it there to assign the rule to that category, or select None to leave a rule uncategorized.
Editing and Deleting Categories
Click any category’s name in the list to edit its Name or Description.
A category cannot be deleted while it is still assigned to one or more rules. If you try to delete a category that is in use, the plugin will block the deletion and let you know it is associated with existing rules. Reassign or remove the affected rules first, then delete the category.