Migrating From Interlinks Manager Pro to Link Manager Pro
If you are currently using Interlinks Manager Pro, this page explains how to migrate your internal link rules to Link Manager Pro without losing your existing configuration. The migration uses the Import & Export tool available in both plugins.
One important difference to be aware of before you begin: when Interlinks Manager Pro rules are imported into Link Manager Pro, each rule’s target is converted from a post reference into a full URL pointing to the corresponding internal page. The rules will work correctly after import, but they will appear in the Auto Link Rules list with full URLs rather than post titles as their target.
Step 1: Export Your Data From Interlinks Manager Pro
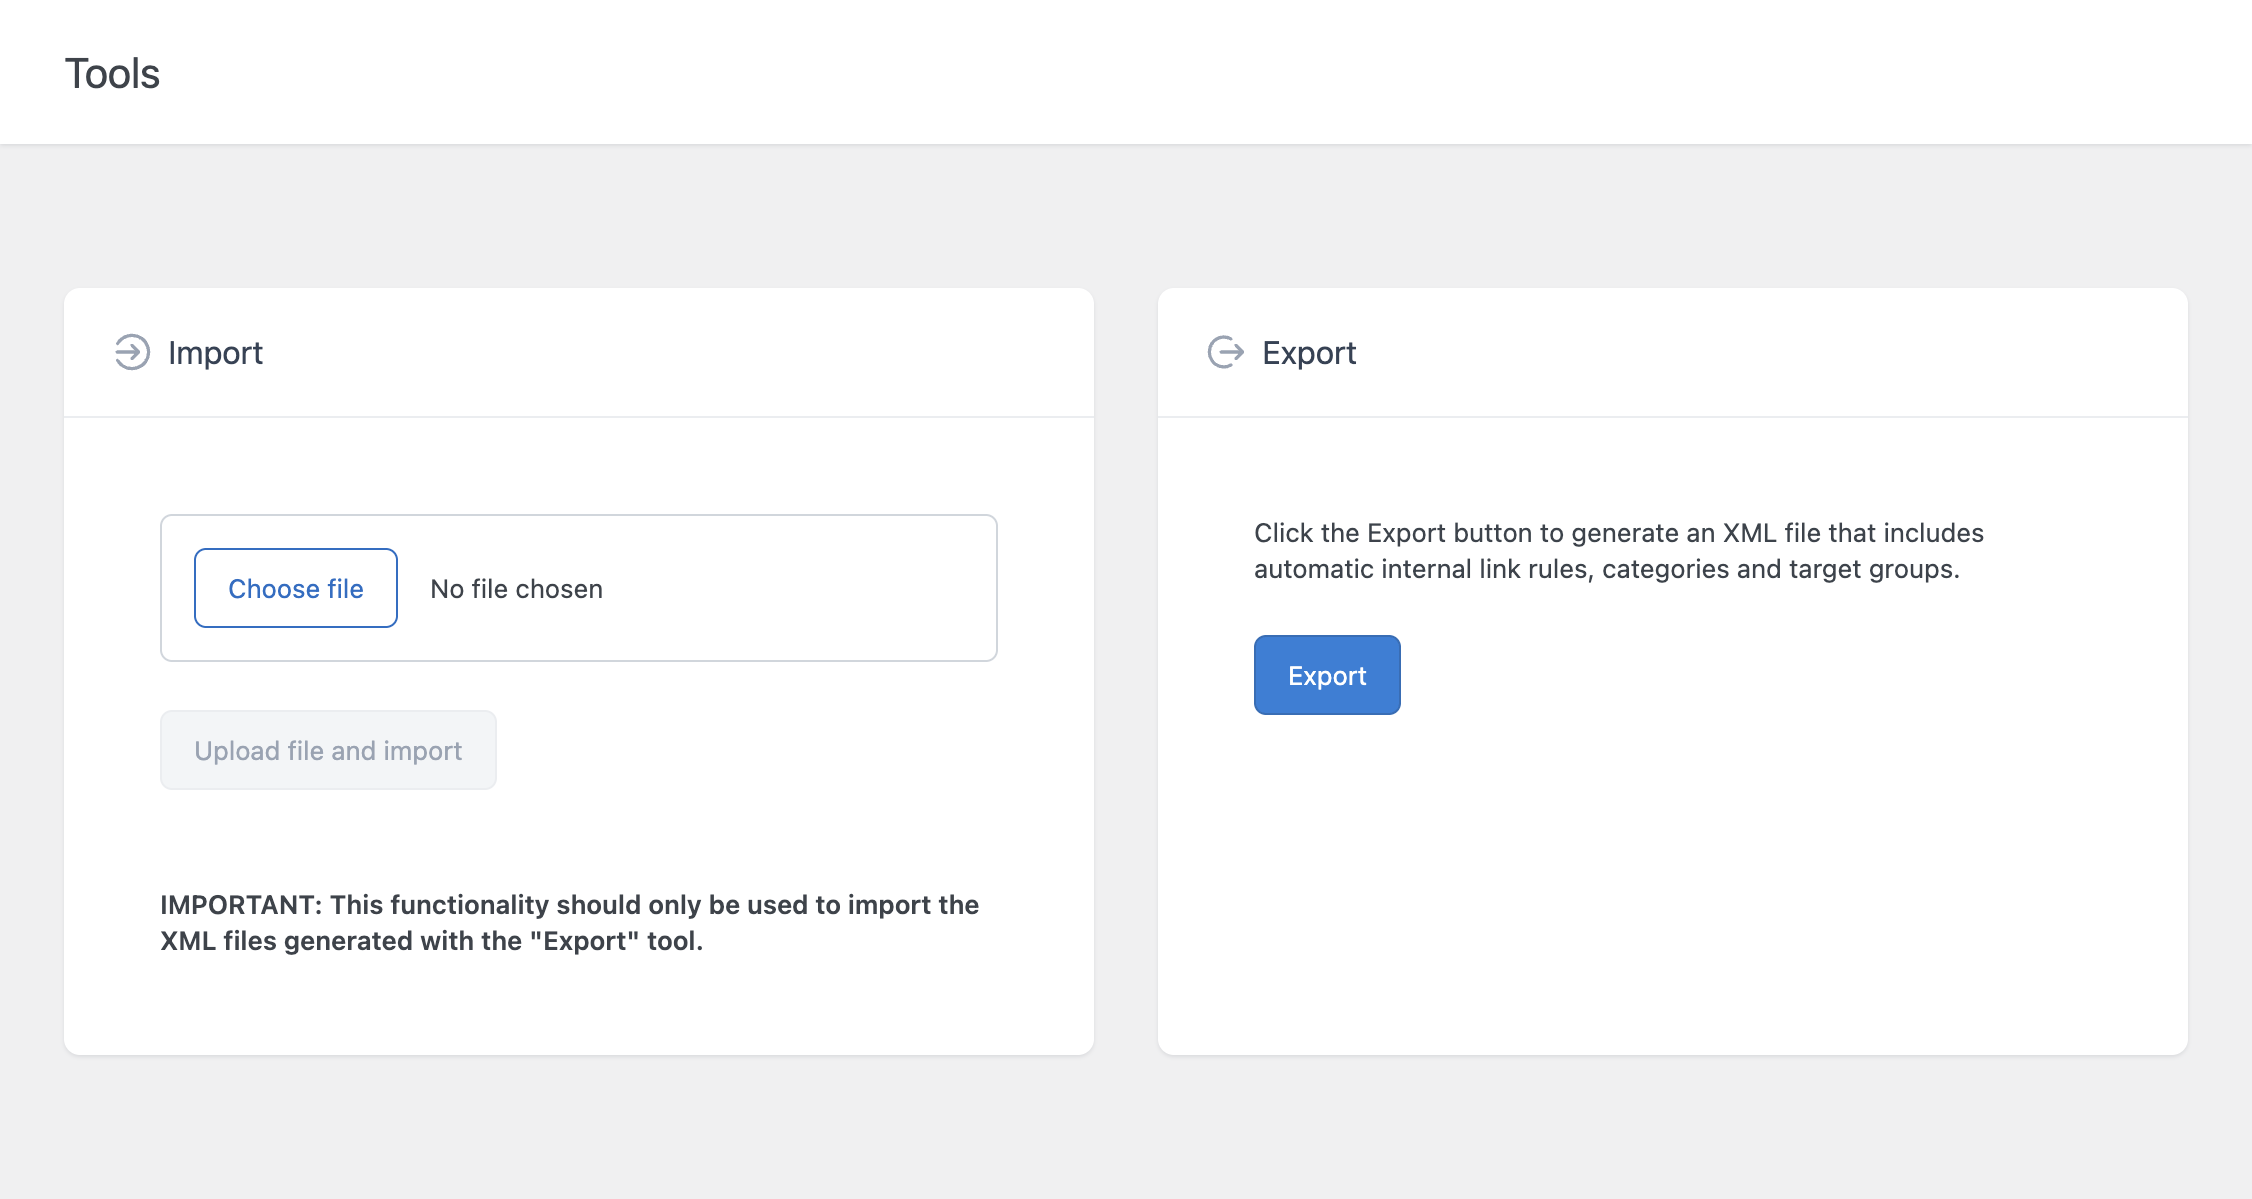
In your WordPress dashboard, open the Interlinks menu and navigate to the Import & Export page. In the Export section, click the Export button. This will generate an XML file containing all your internal link rules, categories, and target groups, which will be downloaded to your computer.
Step 2: Deactivate Interlinks Manager Pro
Once the XML file has been downloaded, deactivate Interlinks Manager Pro from the WordPress Plugins menu.
Important:
Do not delete Interlinks Manager Pro at this stage. Deleting it would remove not only the plugin files but also the options and database tables where your rules, categories, and target groups are stored.
We recommend deleting Interlinks Manager Pro only after you have successfully completed the migration and verified the imported data in Link Manager Pro.
Step 3: Install and Activate Link Manager Pro
If you have not already installed Link Manager Pro, log in to your account and navigate to the Downloads section to download the Link Manager Pro ZIP package. In your WordPress dashboard, go to the Plugins menu, upload the ZIP file, then install and activate it.
Step 4: Import Your Data Into Link Manager Pro
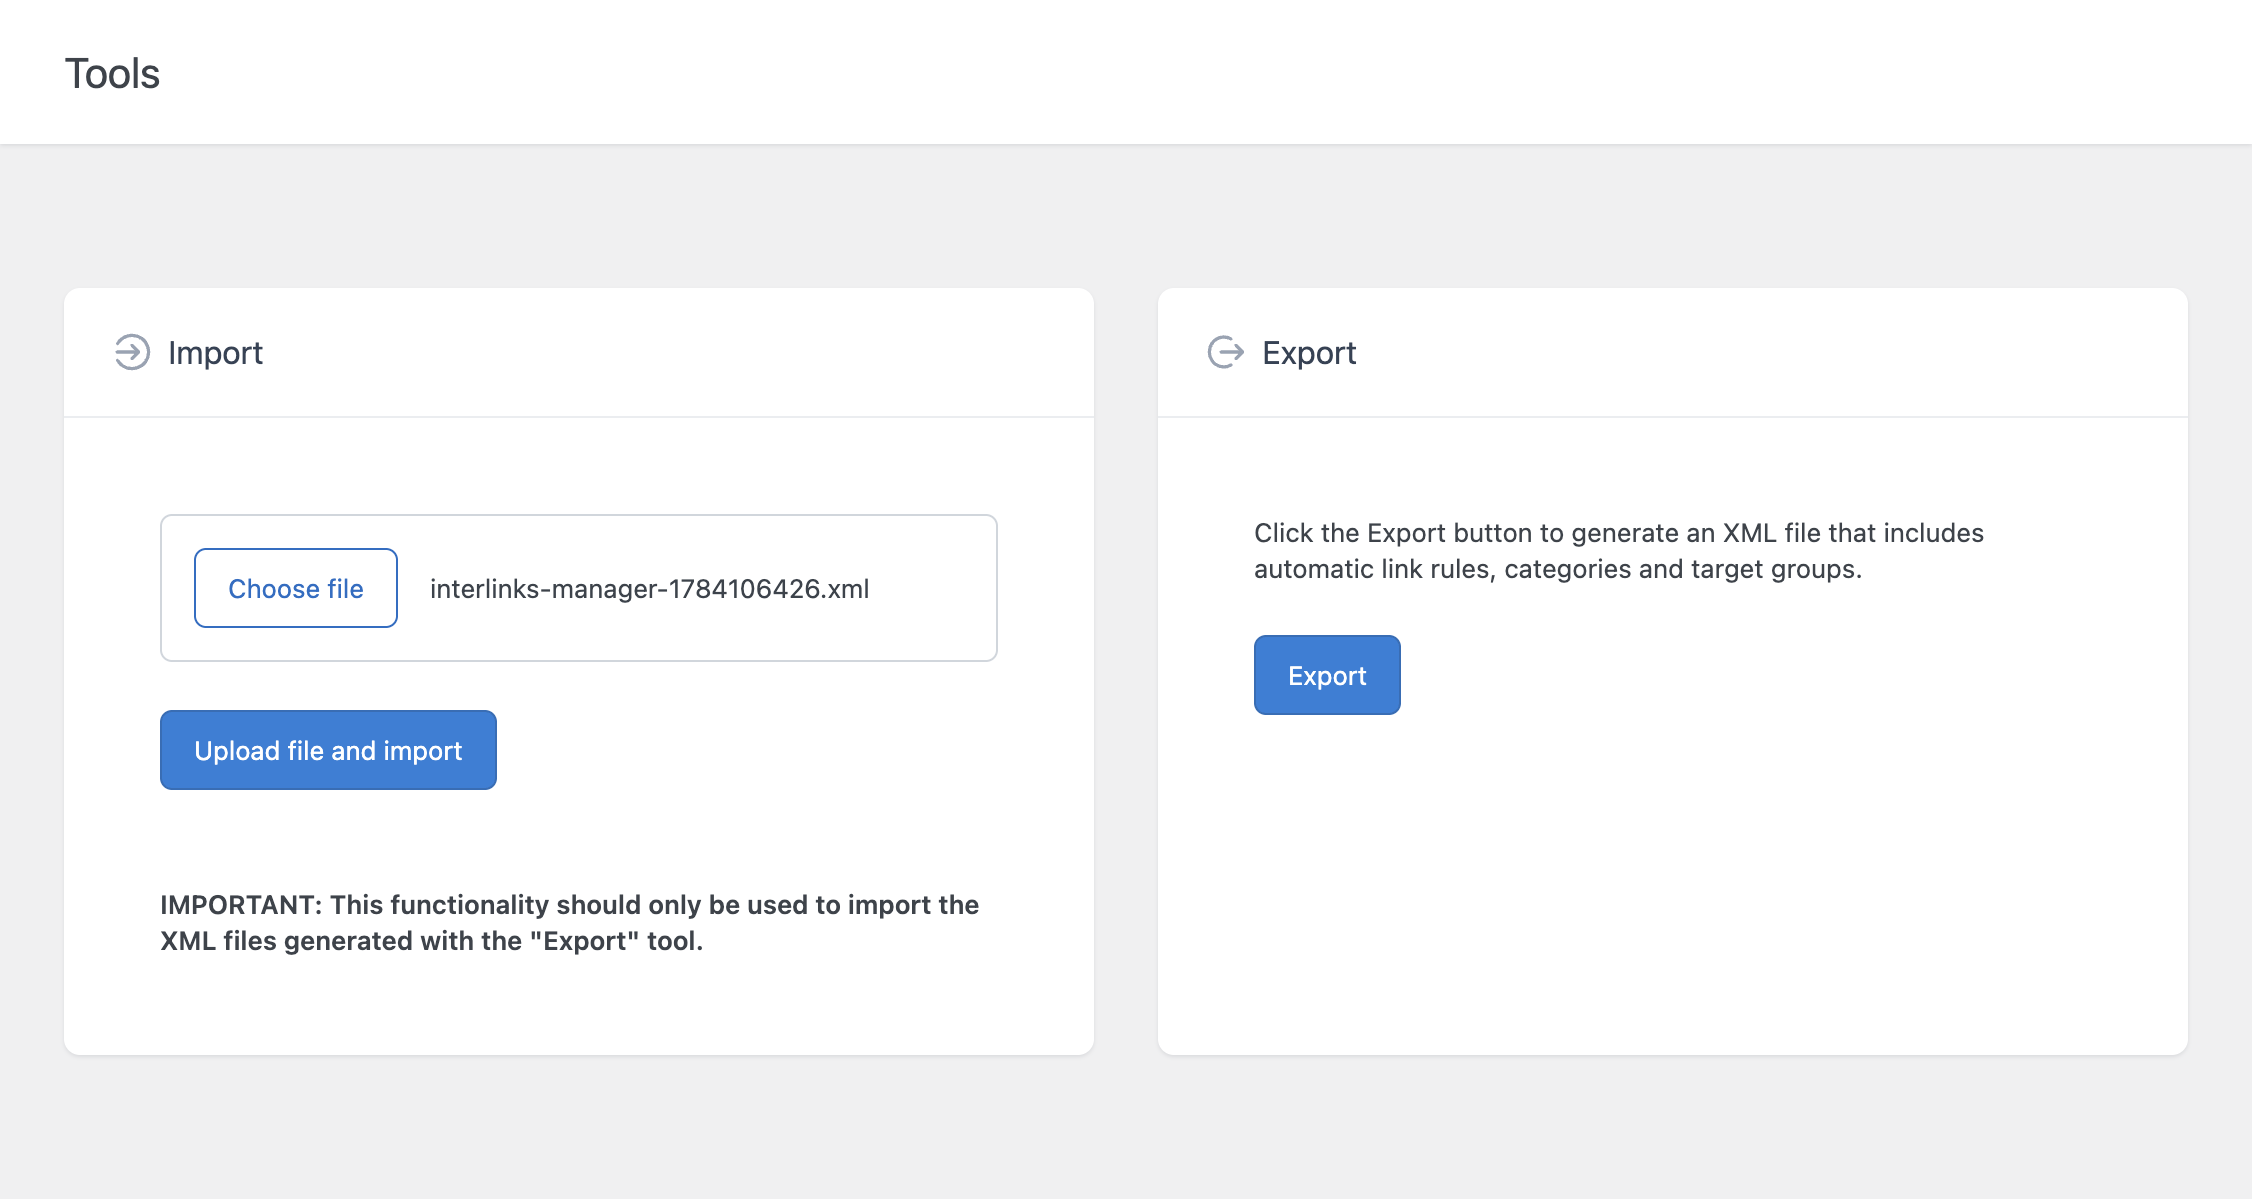
Open the Import & Export menu in Link Manager Pro. In the Import section, click Choose file, select the XML file you exported from Interlinks Manager Pro, then click Upload file and import to begin the import process.
Important:
This functionality should only be used to import XML files generated with the Export tool of Interlinks Manager Pro, Link Manager, or Link Manager Pro. Importing a file from another source or a manually edited XML file may produce unexpected results.
Step 5: Verify the Imported Data
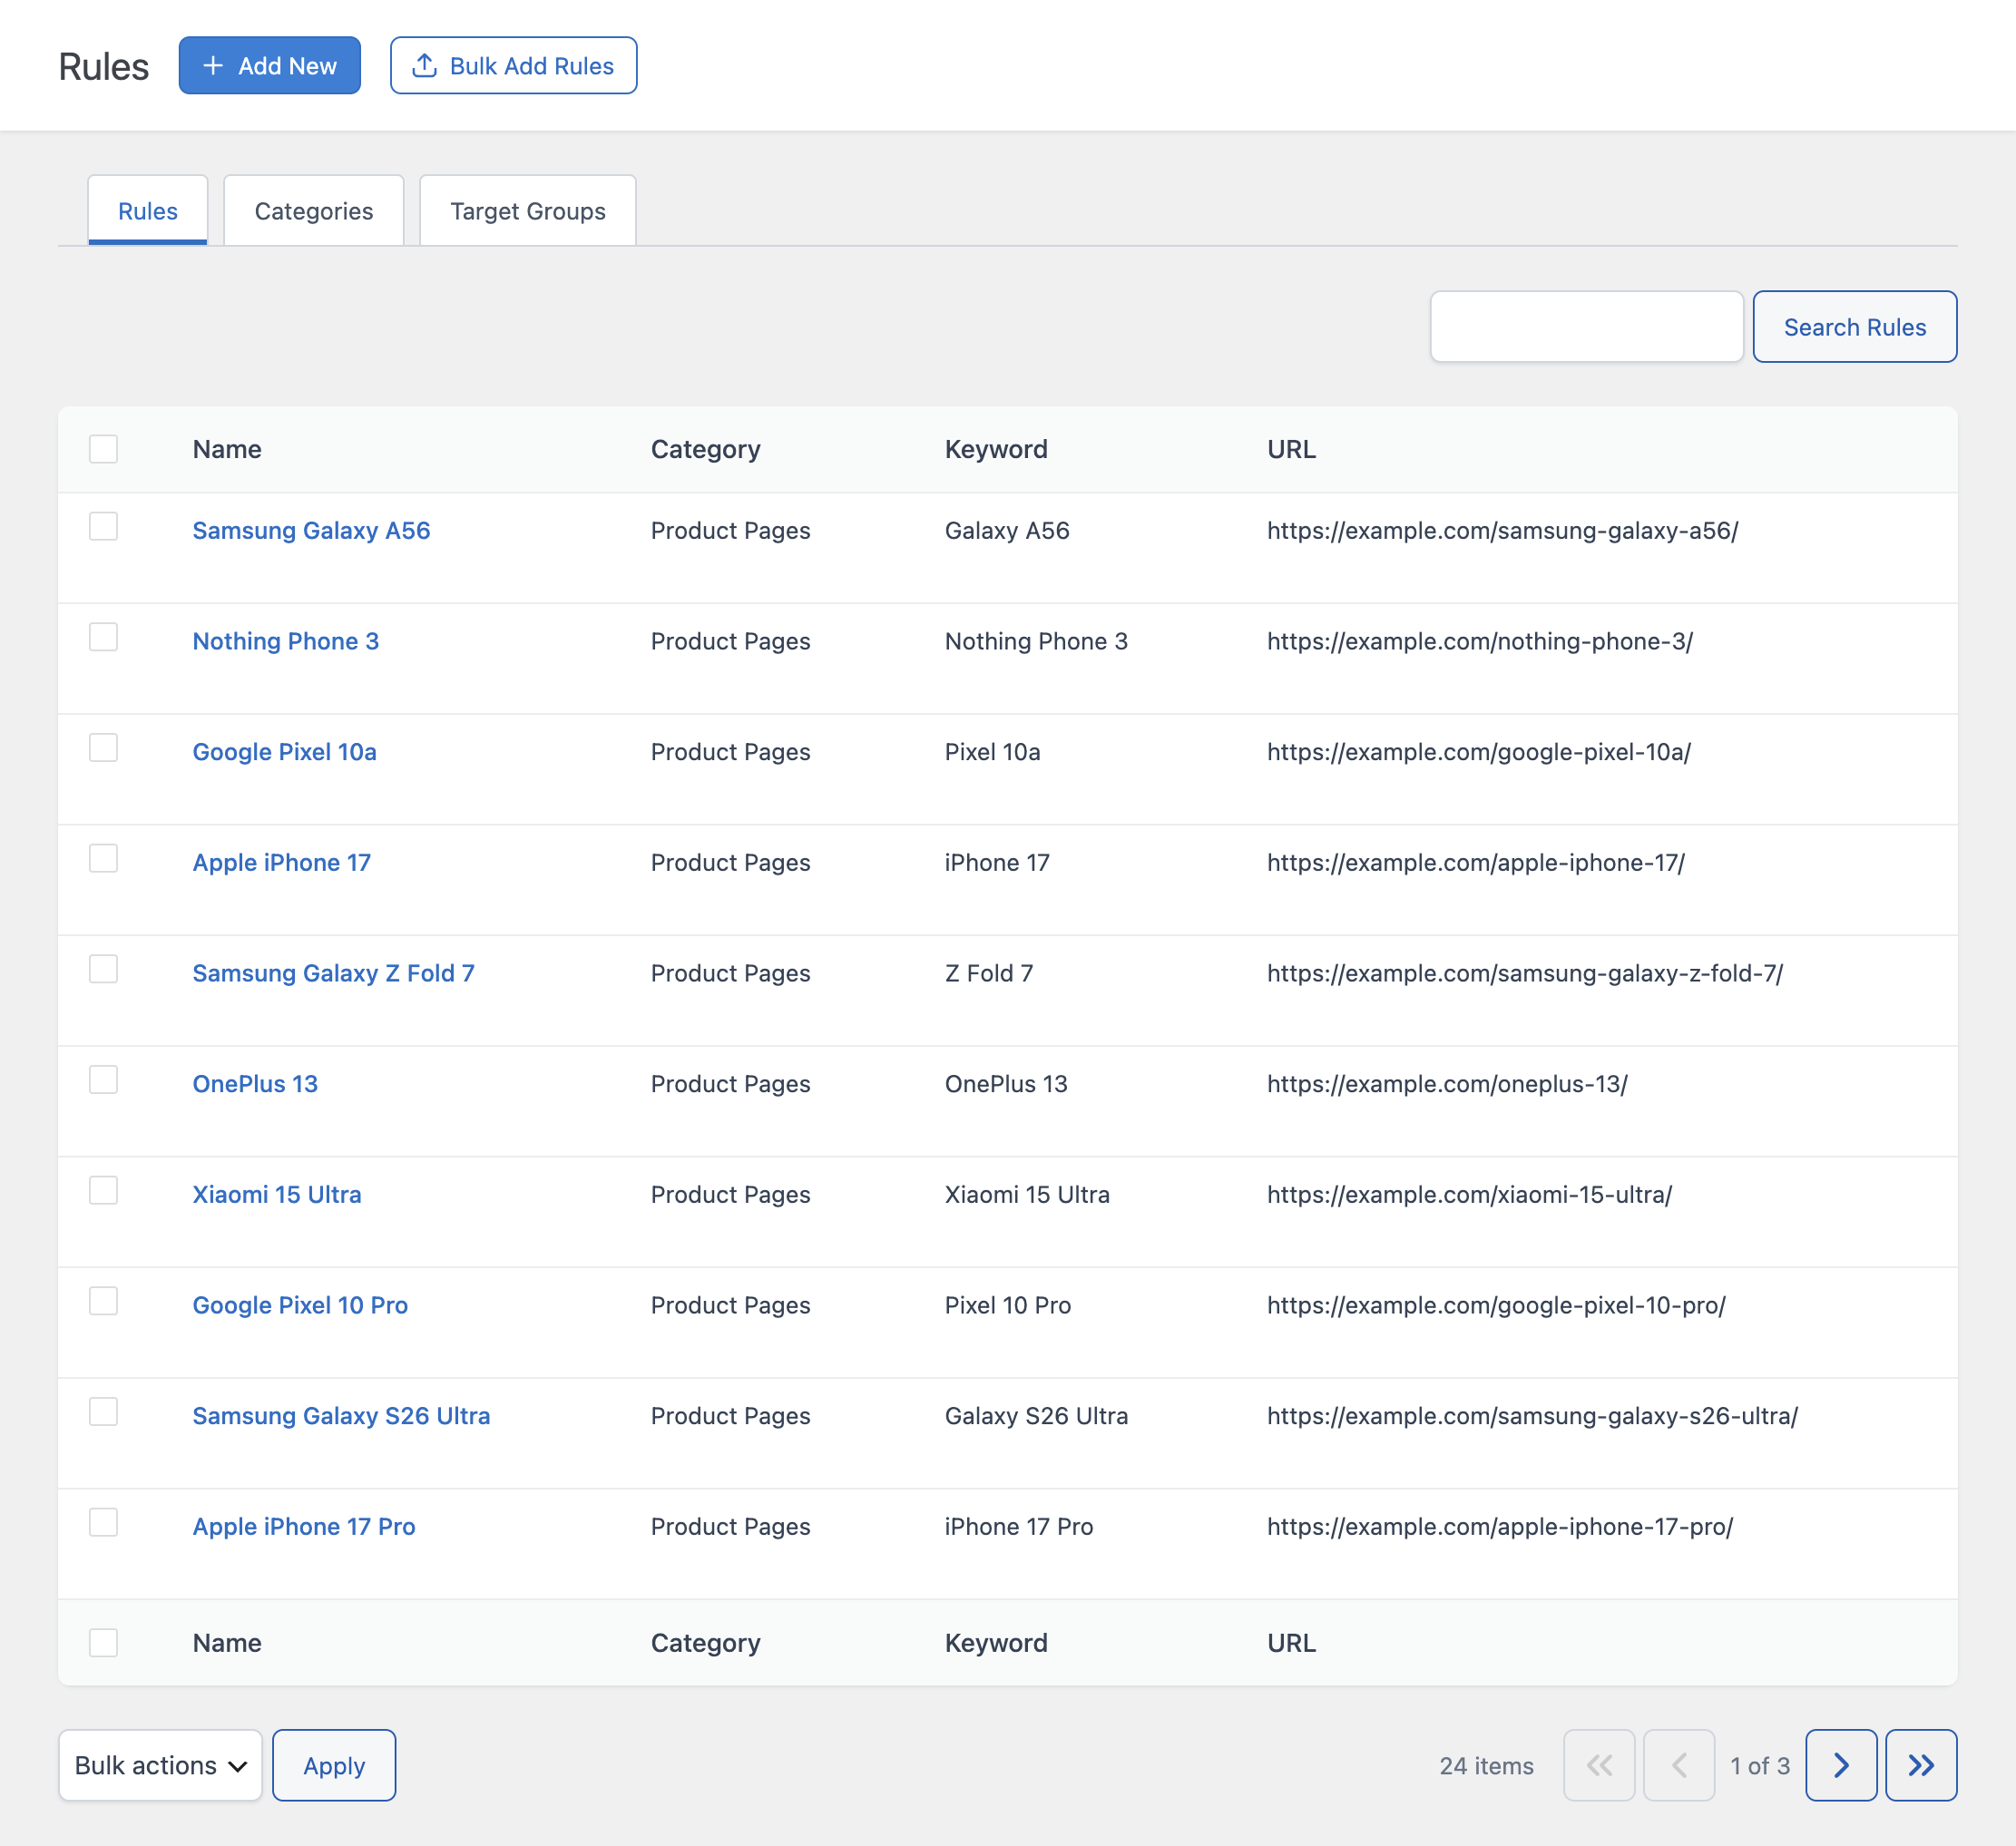
After the import completes, open the Auto Link Rules menu and check the Rules, Categories, and Target Groups tabs. Verify that all the rules, categories, and target groups from Interlinks Manager Pro have been successfully imported. Each rule’s target will now appear as a full internal URL rather than a post reference, which is the expected behavior after migration.
What Is Not Transferred by This Import
The export and import only covers internal link rules, categories, and target groups. The following data is not included and will need to be reconfigured manually in Link Manager Pro:
- Link Equity, Broken Links, and Clicks statistics
- Plugin settings configured in the Settings menu
After the Migration
Once you have confirmed that all your data has been imported correctly, you can safely delete Interlinks Manager Pro from the Plugins menu. Link Manager Pro will continue to manage your internal link rules going forward, and you can take advantage of its additional features including the Dashboard analytics, Broken Links monitoring, Click Tracking, and Link Equity analysis.